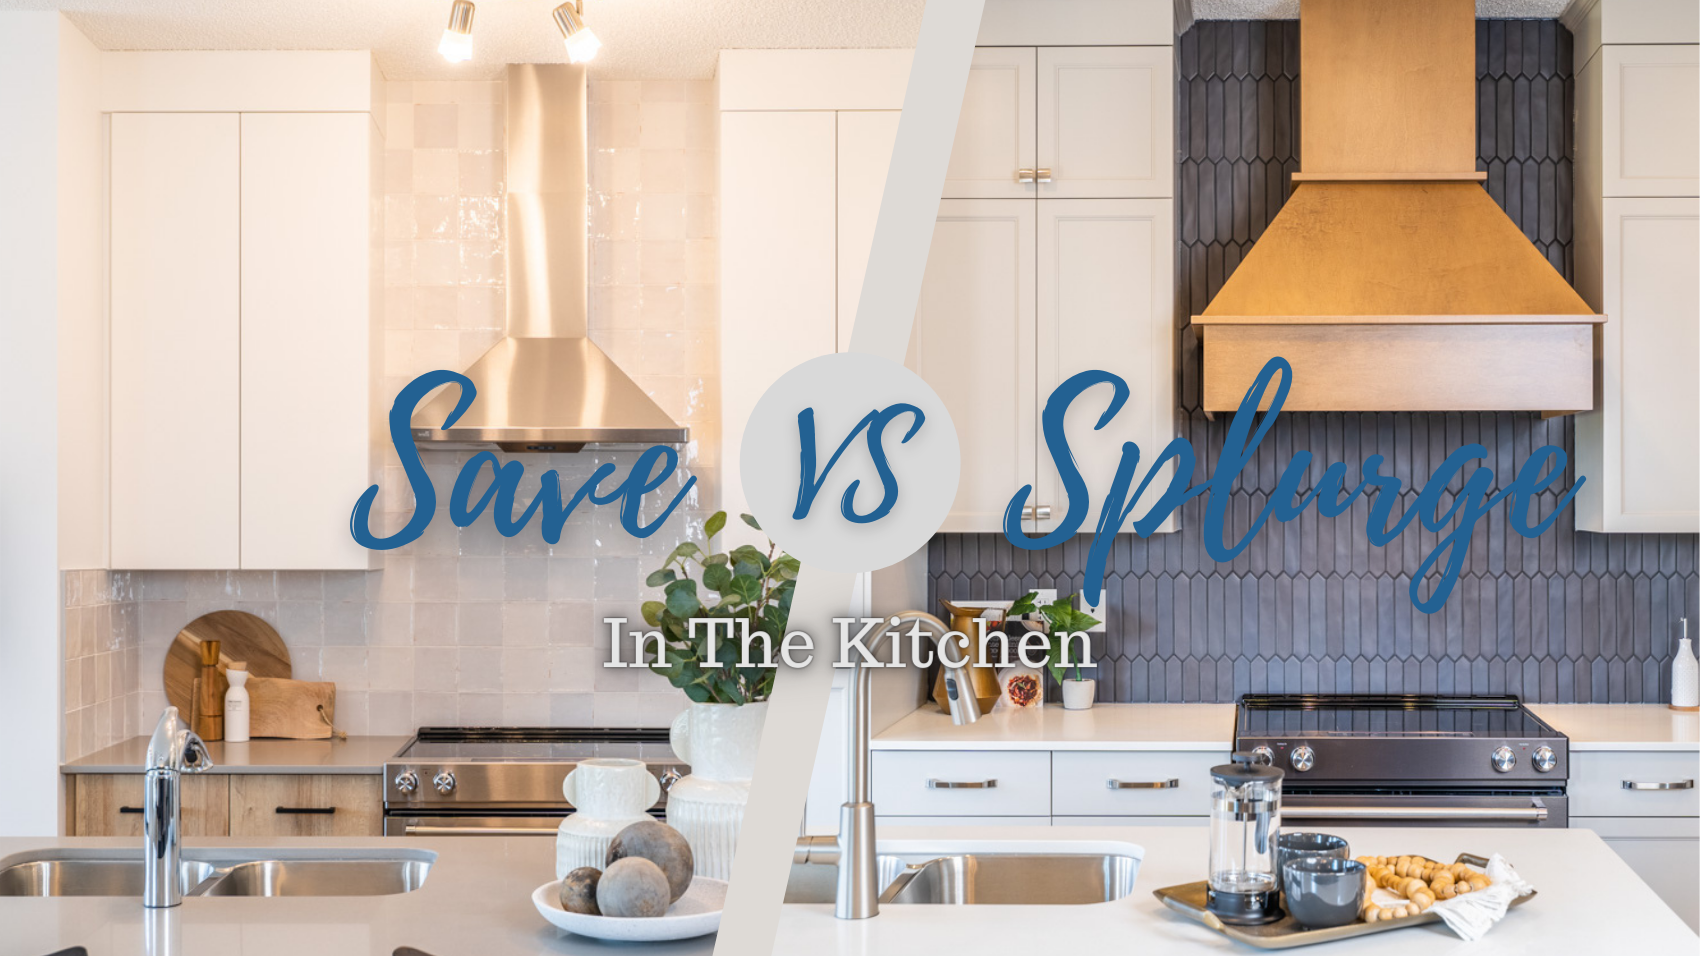
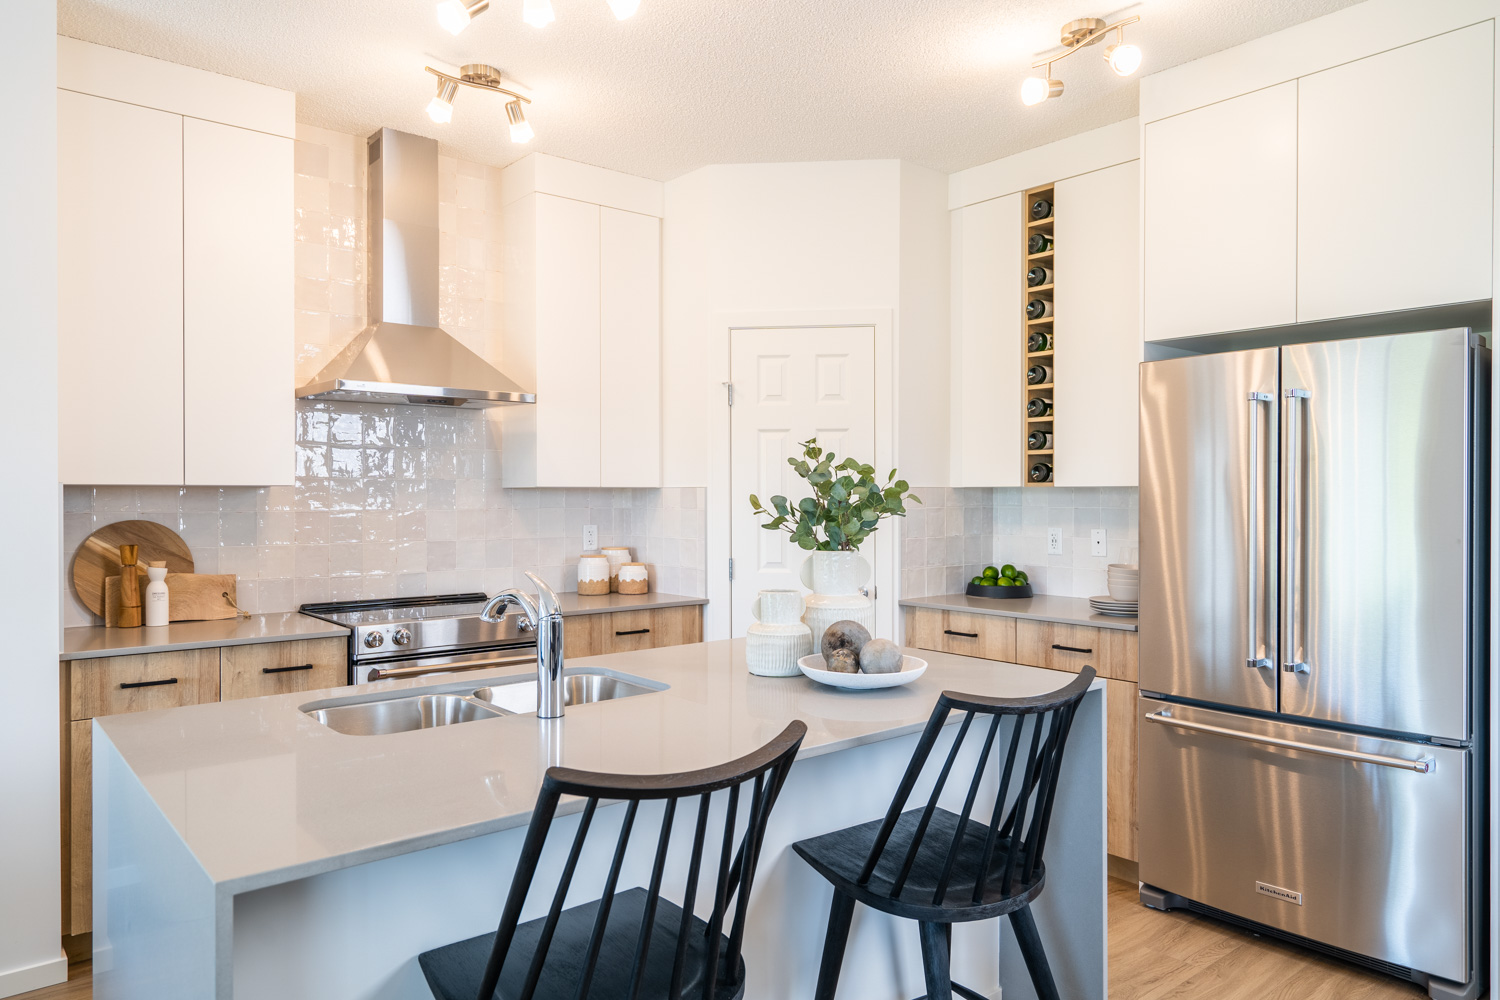
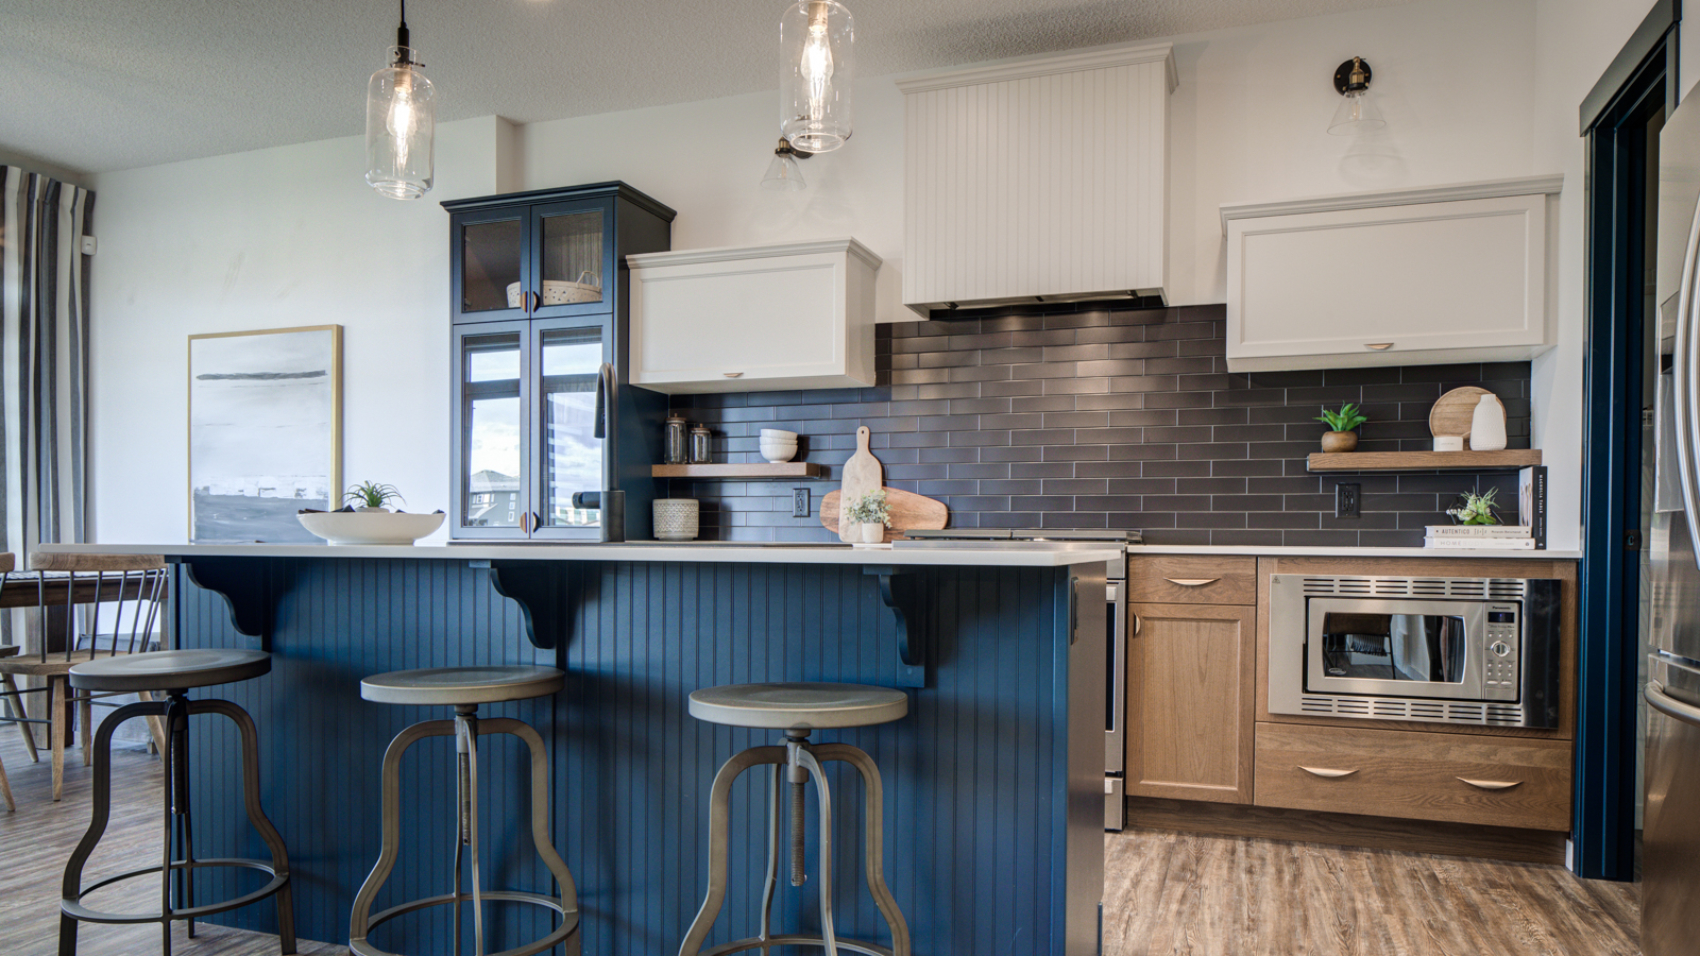
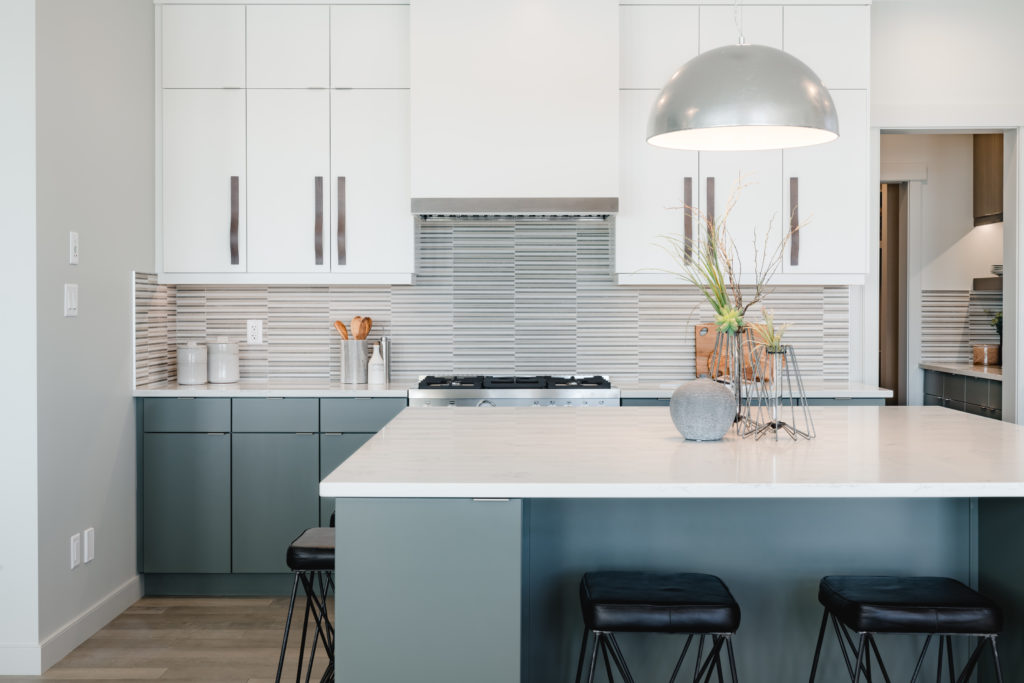
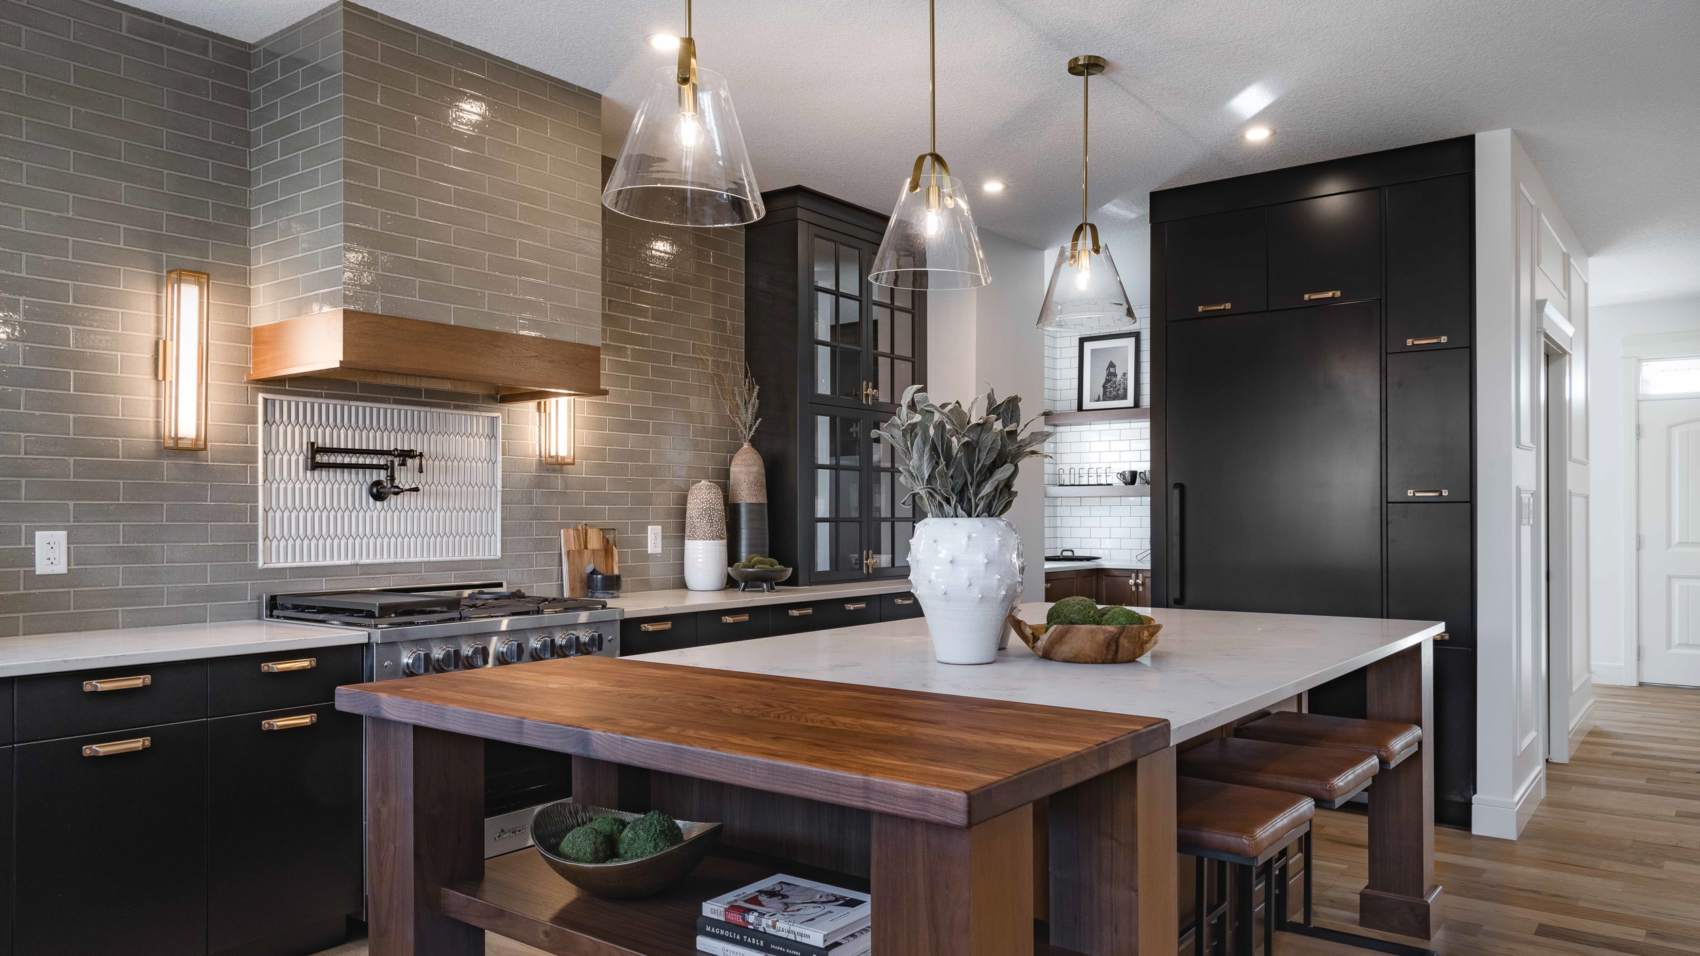
What are the best areas to save money, and splurge on in your kitchen design? Join us as we walk you through how you can get the look of this contemporary kitchen, and where we saved and splurged on the interior finishes.
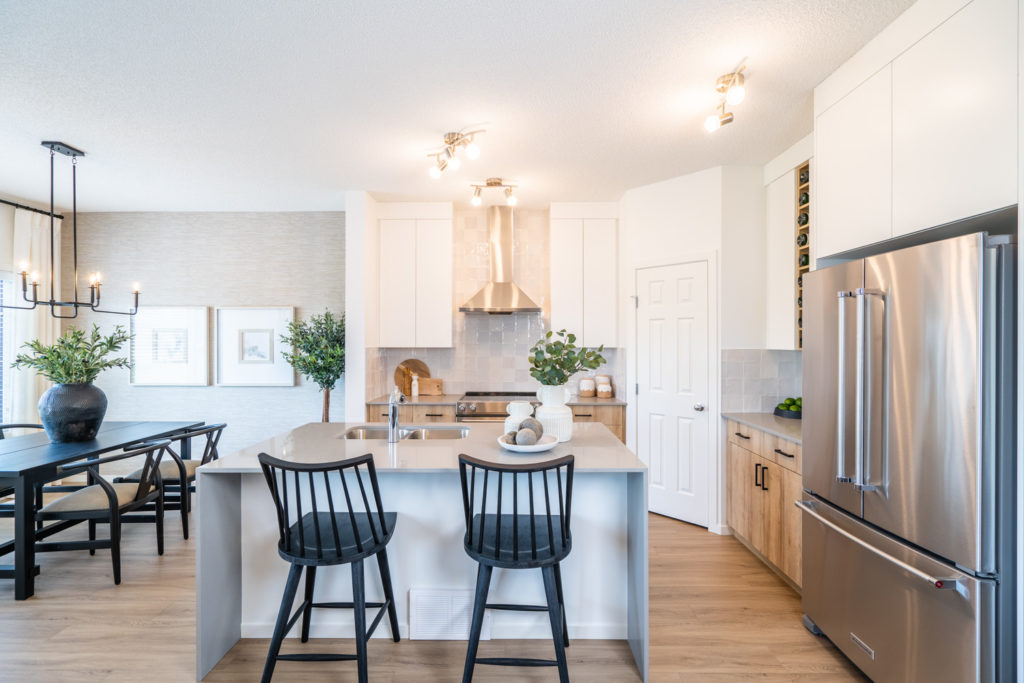
In this kitchen, our designer went with a two-toned cabinetry option. Doing a two-toned cabinet gives your kitchen more dimension and brings interest to the cabinets. This style is also a key component to a contemporary or even a modern farmhouse look.
Thermofoil is a lower cost option when compared to wood or painted cabinetry.
Thermofoil cabinetry is made using vinyl that is heated & pressurized onto an MDF core, leaving you with a durable finish that is easy to clean.
The Splurge
Upgraded Lower Cabinet Color
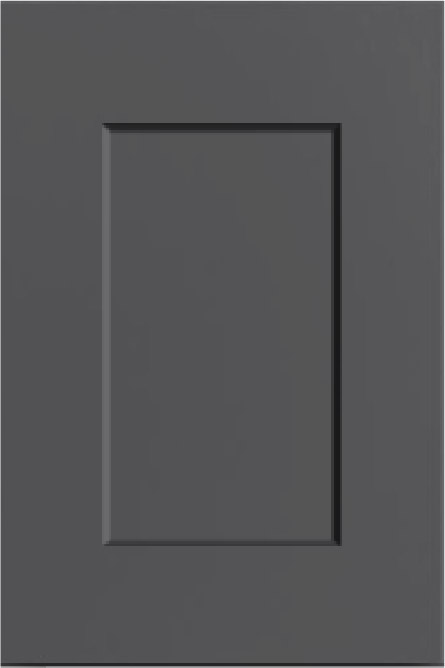
To achieve the two toned look, an upgraded color was used on the lower cabinetry.
The lower cabinet color also has texture to it, giving it a similar appearance to a wood cabinet.
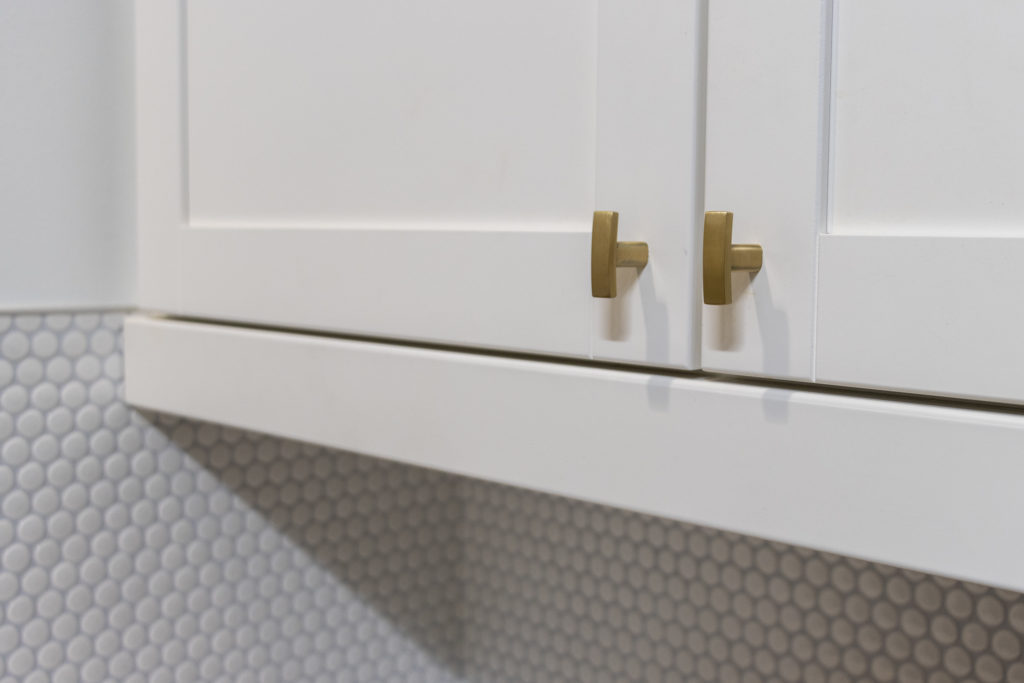
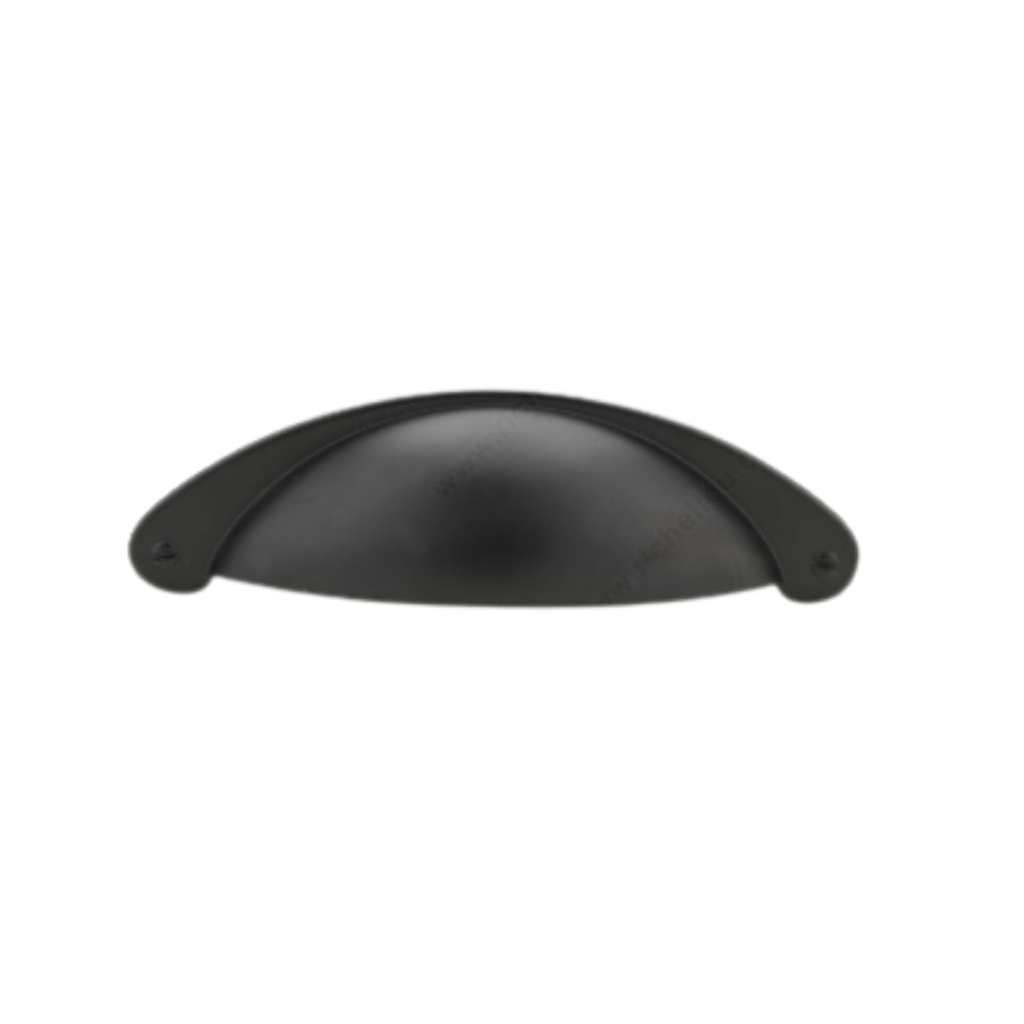
Upgraded Cabinet Hardware
Changing you cabinet hardware is a splurge that is well worth it. It’s a lower cost upgrade that really delivers. It allows you to really match the finish and style to the rest of your house, and tie everything together.
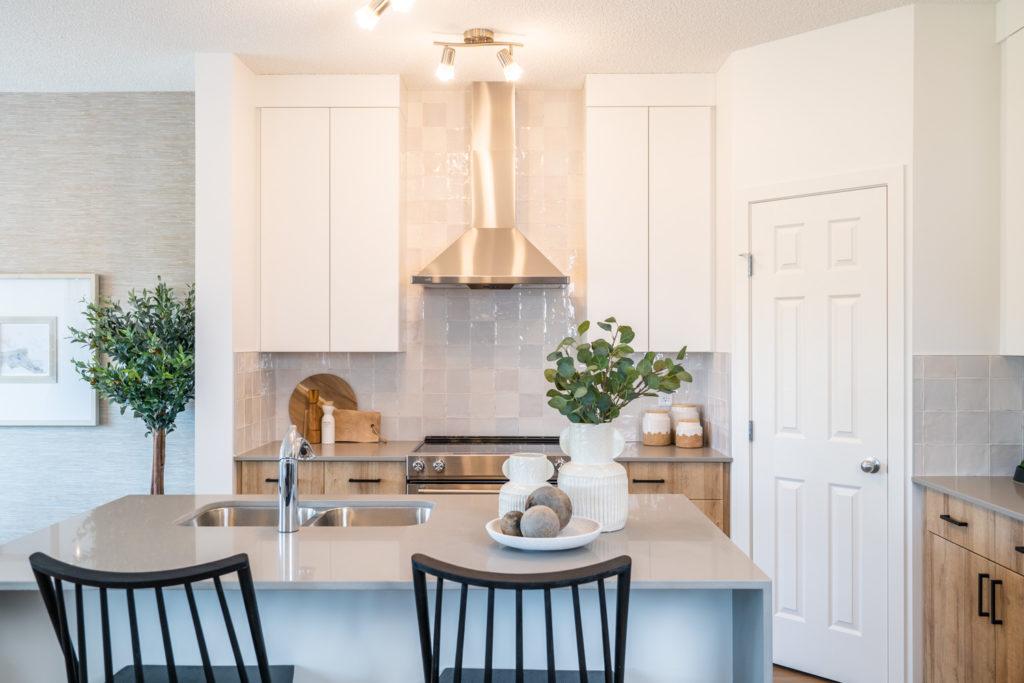
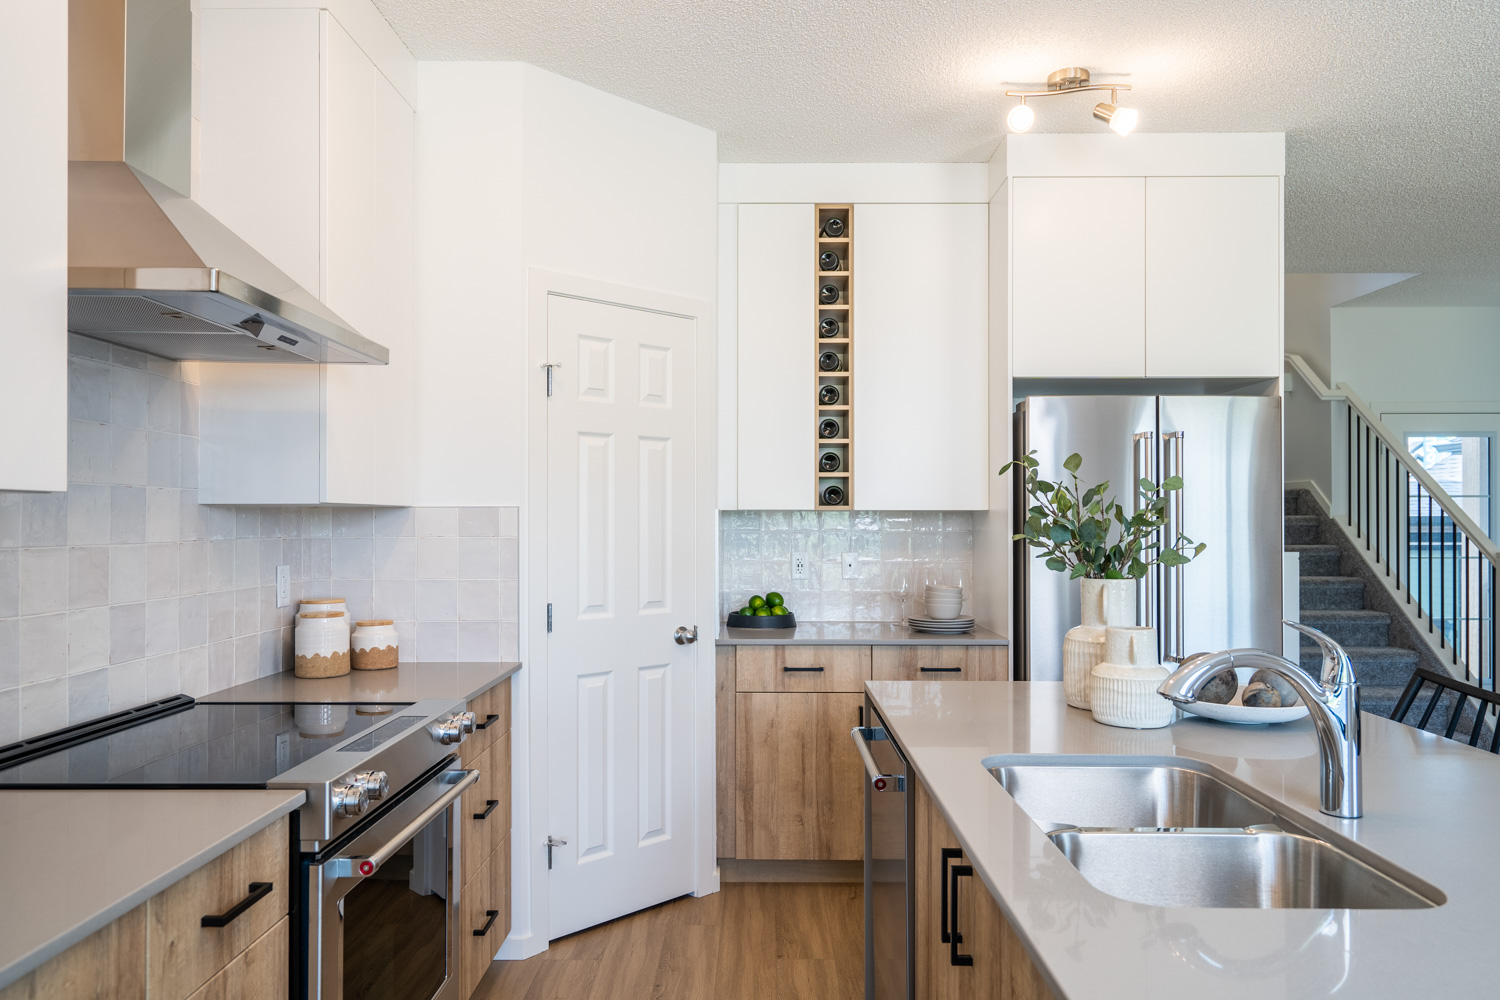
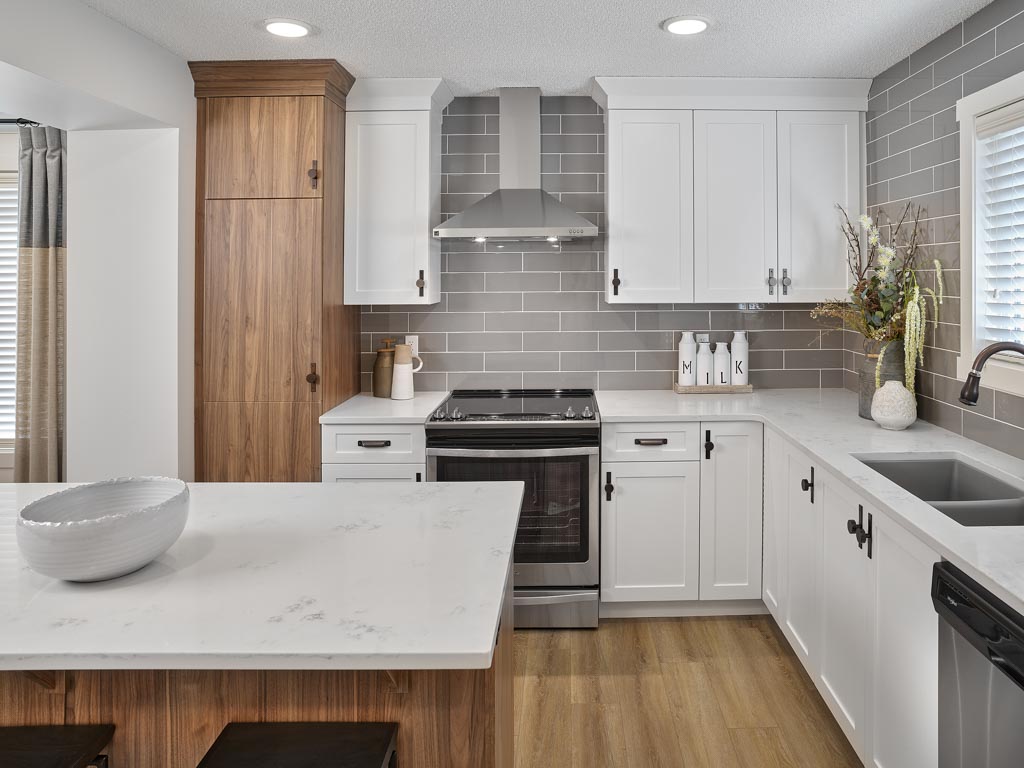
The overall style of this kitchen is modern minimalism with natural tones and textures found in nature. Therefore, the backsplash tile chosen is a hand made and glazed tile, and really embraces the style of the kitchen.
You can still achieve a similar look by using a regular ceramic tile. Use a tile that is the same size, 5×5 square, and find a color that would mimic the natural hues.
You can opt to not do a chimney hoodfan and/or tile to the ceiling which will save some money!
The Splurge
Hand Made & Hand Glazed Tile
This 5 x 5 square tile has a unique look to it due to it’s hand glazed technique. It adds to the natural feel of the kitchen.
Additionally, we added a chimney hoodfan and took the tile right to the ceiling to add height to the kitchen.
The Cabinet Height
Taking your cabinets all the way to the ceiling not only adds height to the space, but provides more storage space too!
The Save
Adding a Cabinet Riser
If you don’t want to spend the money to extend the cabinetry all the way to the ceiling, you can still achieve the same look by adding a cabinet riser. This is essentially a cabinet panel instead of a whole cabinet. You won’t get the same storage but you will get the sleek look!
The Splurge
Extending the Cabinetry to the Ceiling
If you want that sleek, contemporary look extending the cabinets to the ceiling is a great way to achieve that. In addition, it gives the room added height and gives you added storage!
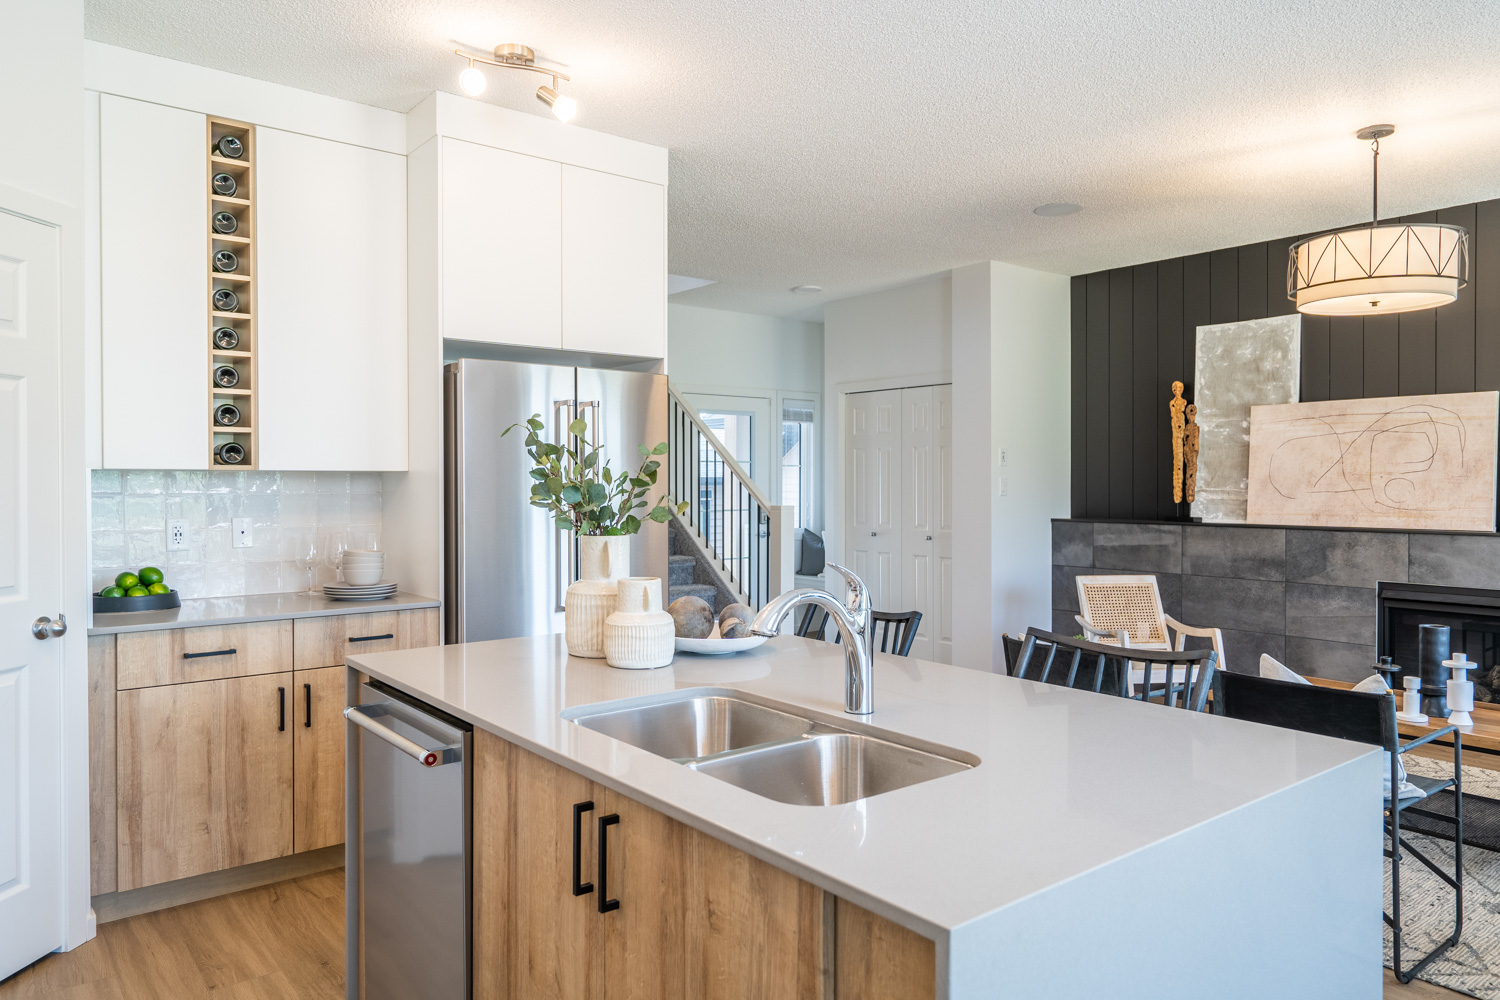
Our designer also chose to add a built in wine rack to this kitchen. Which is a completely, 100% justifiable splurge.
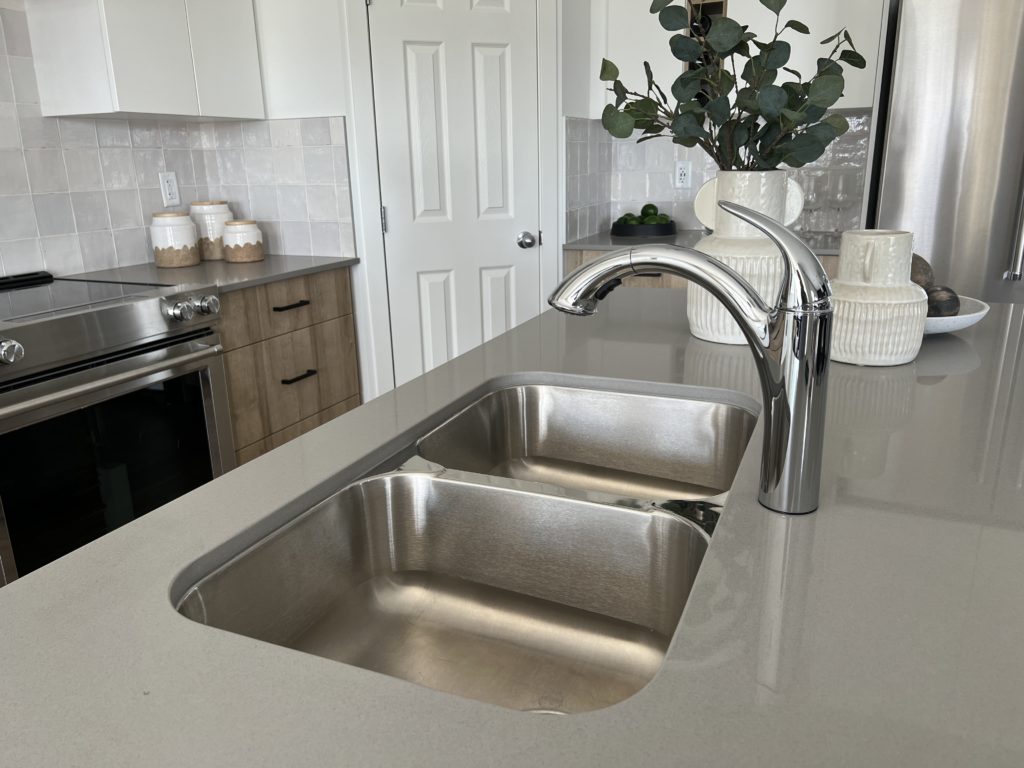
The Countertop & Kitchen Sink
These 2 items are most likely the most used products in your kitchen.
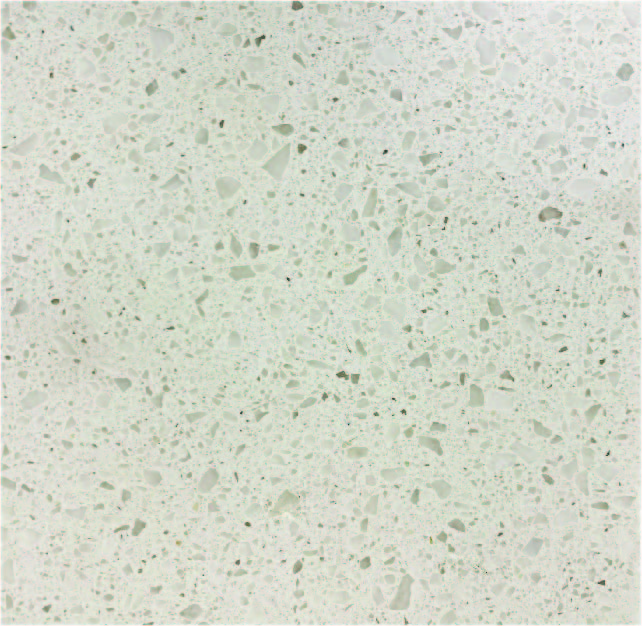
Going with a thinner quartz will still give you the same durability and glossy finish as a thicker solid surface product, however there is limited color availability. But otherwise there really is no difference!
The Splurge
1 – 1/4″ Quartz Countertops
Adding in a thicker countertop opens it up to way more options in both the color and material department. With a 1-1/4″ thickness you can choose from either quartz or granite, and a large array of colors.
Bonus! The Kitchen Sink
Many people think that if you go with a thinner quartz, you can’t then have an undermount sink. But that’s not true! So if you want to splurge a bit in this area, you can choose an undermount sink and still save on the countertop!
We hope this article helped you in designing your own kitchen! For more information on any of the products used, please feel free to send us an email. Thank you!
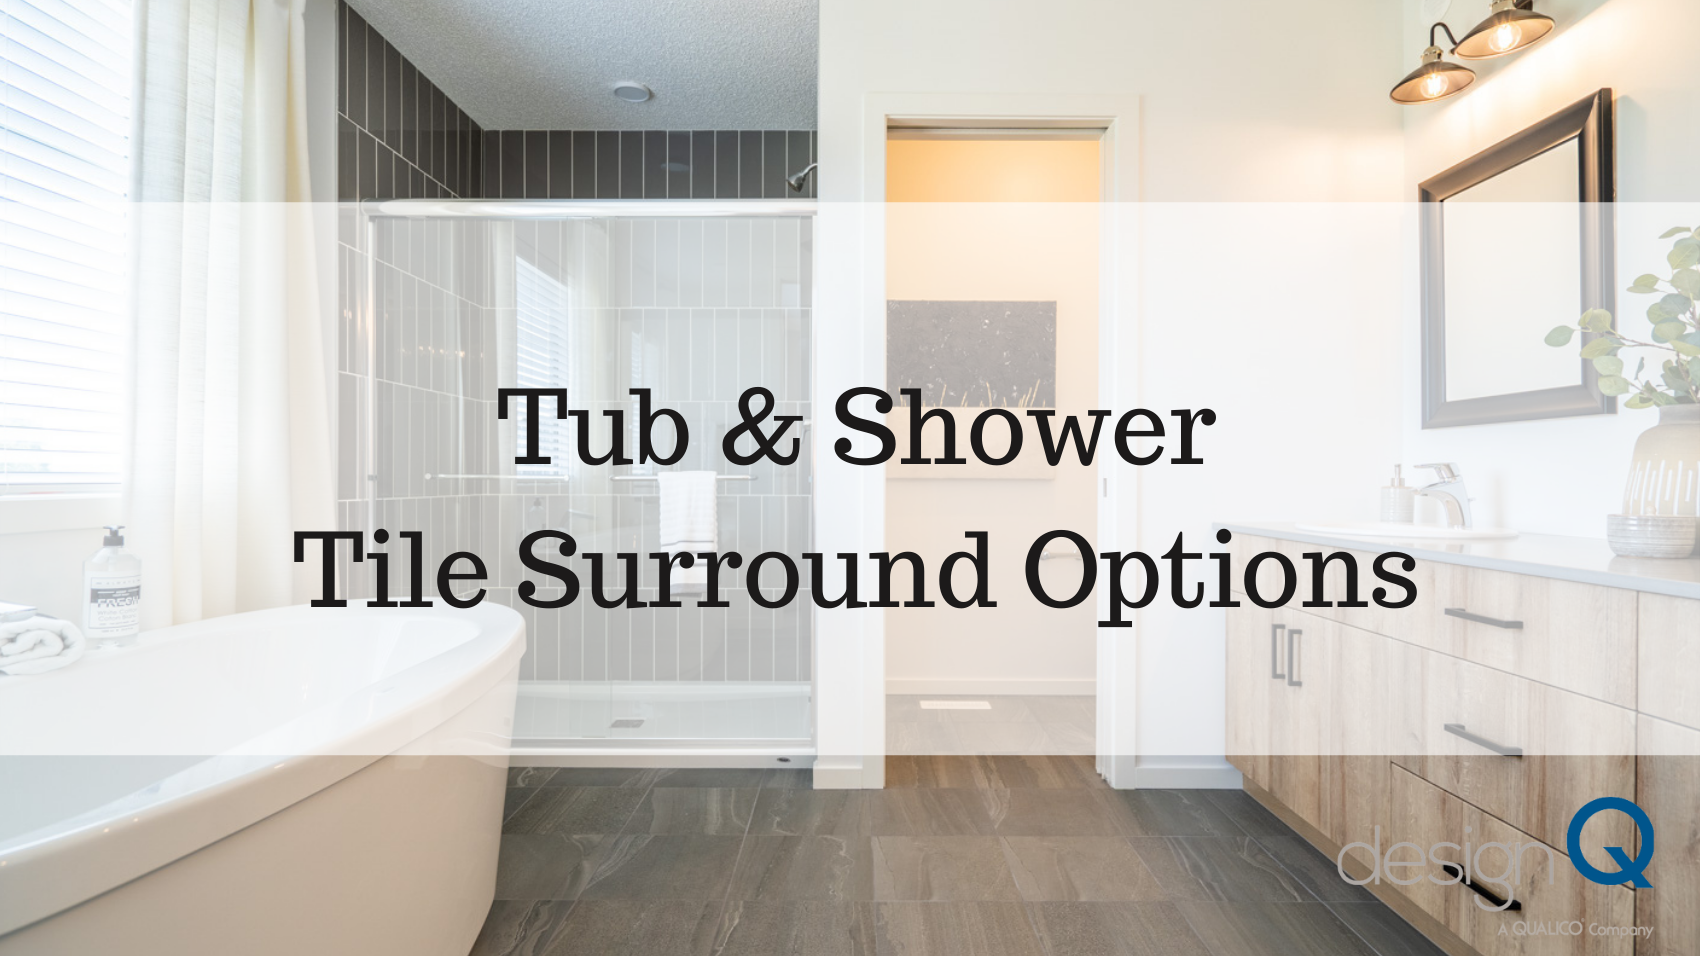
When you have your interior selections appointment at designQ, one of the products you will be selecting is the tile surround for your tub & showers. *
There are a few different options when it comes to what type of tub and/or shower you can have. Additionally, there are a few tile choices as well.
To learn about these options check out our video below. We show you exactly what the options will look like, and how we’ve installed the tile. There are also some inspiration galleries below to show you just a few of the endless options you can have in your home.
Play Video
Get Inspired
These showhomes showcase how you can add 6″ or 12″ tile above a fiberglass tub & shower surround. You can choose either a wall or floor tile.
Previous
Next
These showhomes showcase how you can add tile to the ceiling above a fiberglass tub & shower surround. You can choose either a wall or floor tile.
Previous
Next
These showhomes showcase how you can add remove the fiberglass surround from the tub, and fully tile the walls 6′ high or all the way to the ceiling. You can choose either a wall or floor tile.
Previous
Next
These showhomes showcase an array of shower options – from a simple tile with fiberglass base, to a fully decked out shower with tiled floor, walls & ceiling. You can choose either wall or floor tile for the walls & ceiling. A tiled shower base requires specific tile suited for that purpose.
When selecting your kitchen cabinets there are a few key things to choose – the material, the color and overall use of the cabinets! Each category has several different options too which can make it all a bit overwhelming.
Using this guide to kitchen cabinets selection you will be able to make an informed and confident choice for your kitchen design.
Kitchen Cabinets Material
There are really 4 main types of kitchen cabinet materials available today.
Thermofoil Cabinets
Color: Camp White Style: Shaker
Thermofoil cabinetry is a man made material using vinyl that is heated and pressurized onto an MDF core leaving you with a durable finish that is easy to clean. There are many colours and finishes available.
Pro’s: Durable and easy to clean Offers a subtle texture Consistent in color
Con’s: Not repairable. If you get a chip, then the whole door will need to be replaced Not a lot of variety in the design – more contemporary, less traditional
Photo: StreetSide Developments | Virginia Showhome | Secord Surround: Vanilla ; Shaker Door Style Island & Pantry: Henna ; Monaco Door Style
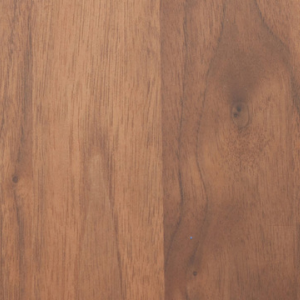
Wood Cabinets
Color: Cape Cod Species: Maple
Wood cabinetry is a natural material available in many different wood species. The most common species are Maple and Oak. Other more exotic species of wood include Alder, Walnut, Cherry and Hickory. There are now eco friendly woods such as Bamboo that can be used for cabinetry too. Read the pro’s and con’s of each wood species in the next section!
Pro’s: Is repairable to small nicks and scratches. More style options from contemporary to traditional and in between!
Con’s: More variations in the color because it is a natural product
Photo: Sterling Homes | Jannat Showhome | Laurel Crossing Color: Hazelnut Species: Maple
High Density Fiberboard (HDF) Cabinets
Color: Agreeable Grey
High Density Fiberboard (HDF) is an engineered wood product. It is made by breaking down softwood into wood fibers, and combining them with a wax and resin binder. It is then solidified with high temperature and pressure to make a strong, durable substrate.
Pro’s: Gives a consistent and smooth finish – perfect for painted doors Strong and durable product that will prevent cracking in the painted finish
Con’s:
Does not have a natural wood grain aesthetic
Photo: Pacesetter Homes | Quincy Showhome | Summerwood Upper Cabinets: Artistic White Lower Cabinets: Custom Paint Color | Eclipse SW6166
Acrylic Cabinets
Color: Dark Grey
Acrylic is a non-toxic finish applied to an HDF cabinet that gives a perfectly smooth texture and a high-gloss appearance.
Pro’s: Visually appealing with a mirror like finish Very durable material and easy to maintain for long lasting shine
Con’s:
Need to clean regularly as they show every fingerprint, dirt and stain mark More prone to scratches in comparison to the other materials
Photo: Sterling Homes | Wessex Showhome | Langdale Color: Beige
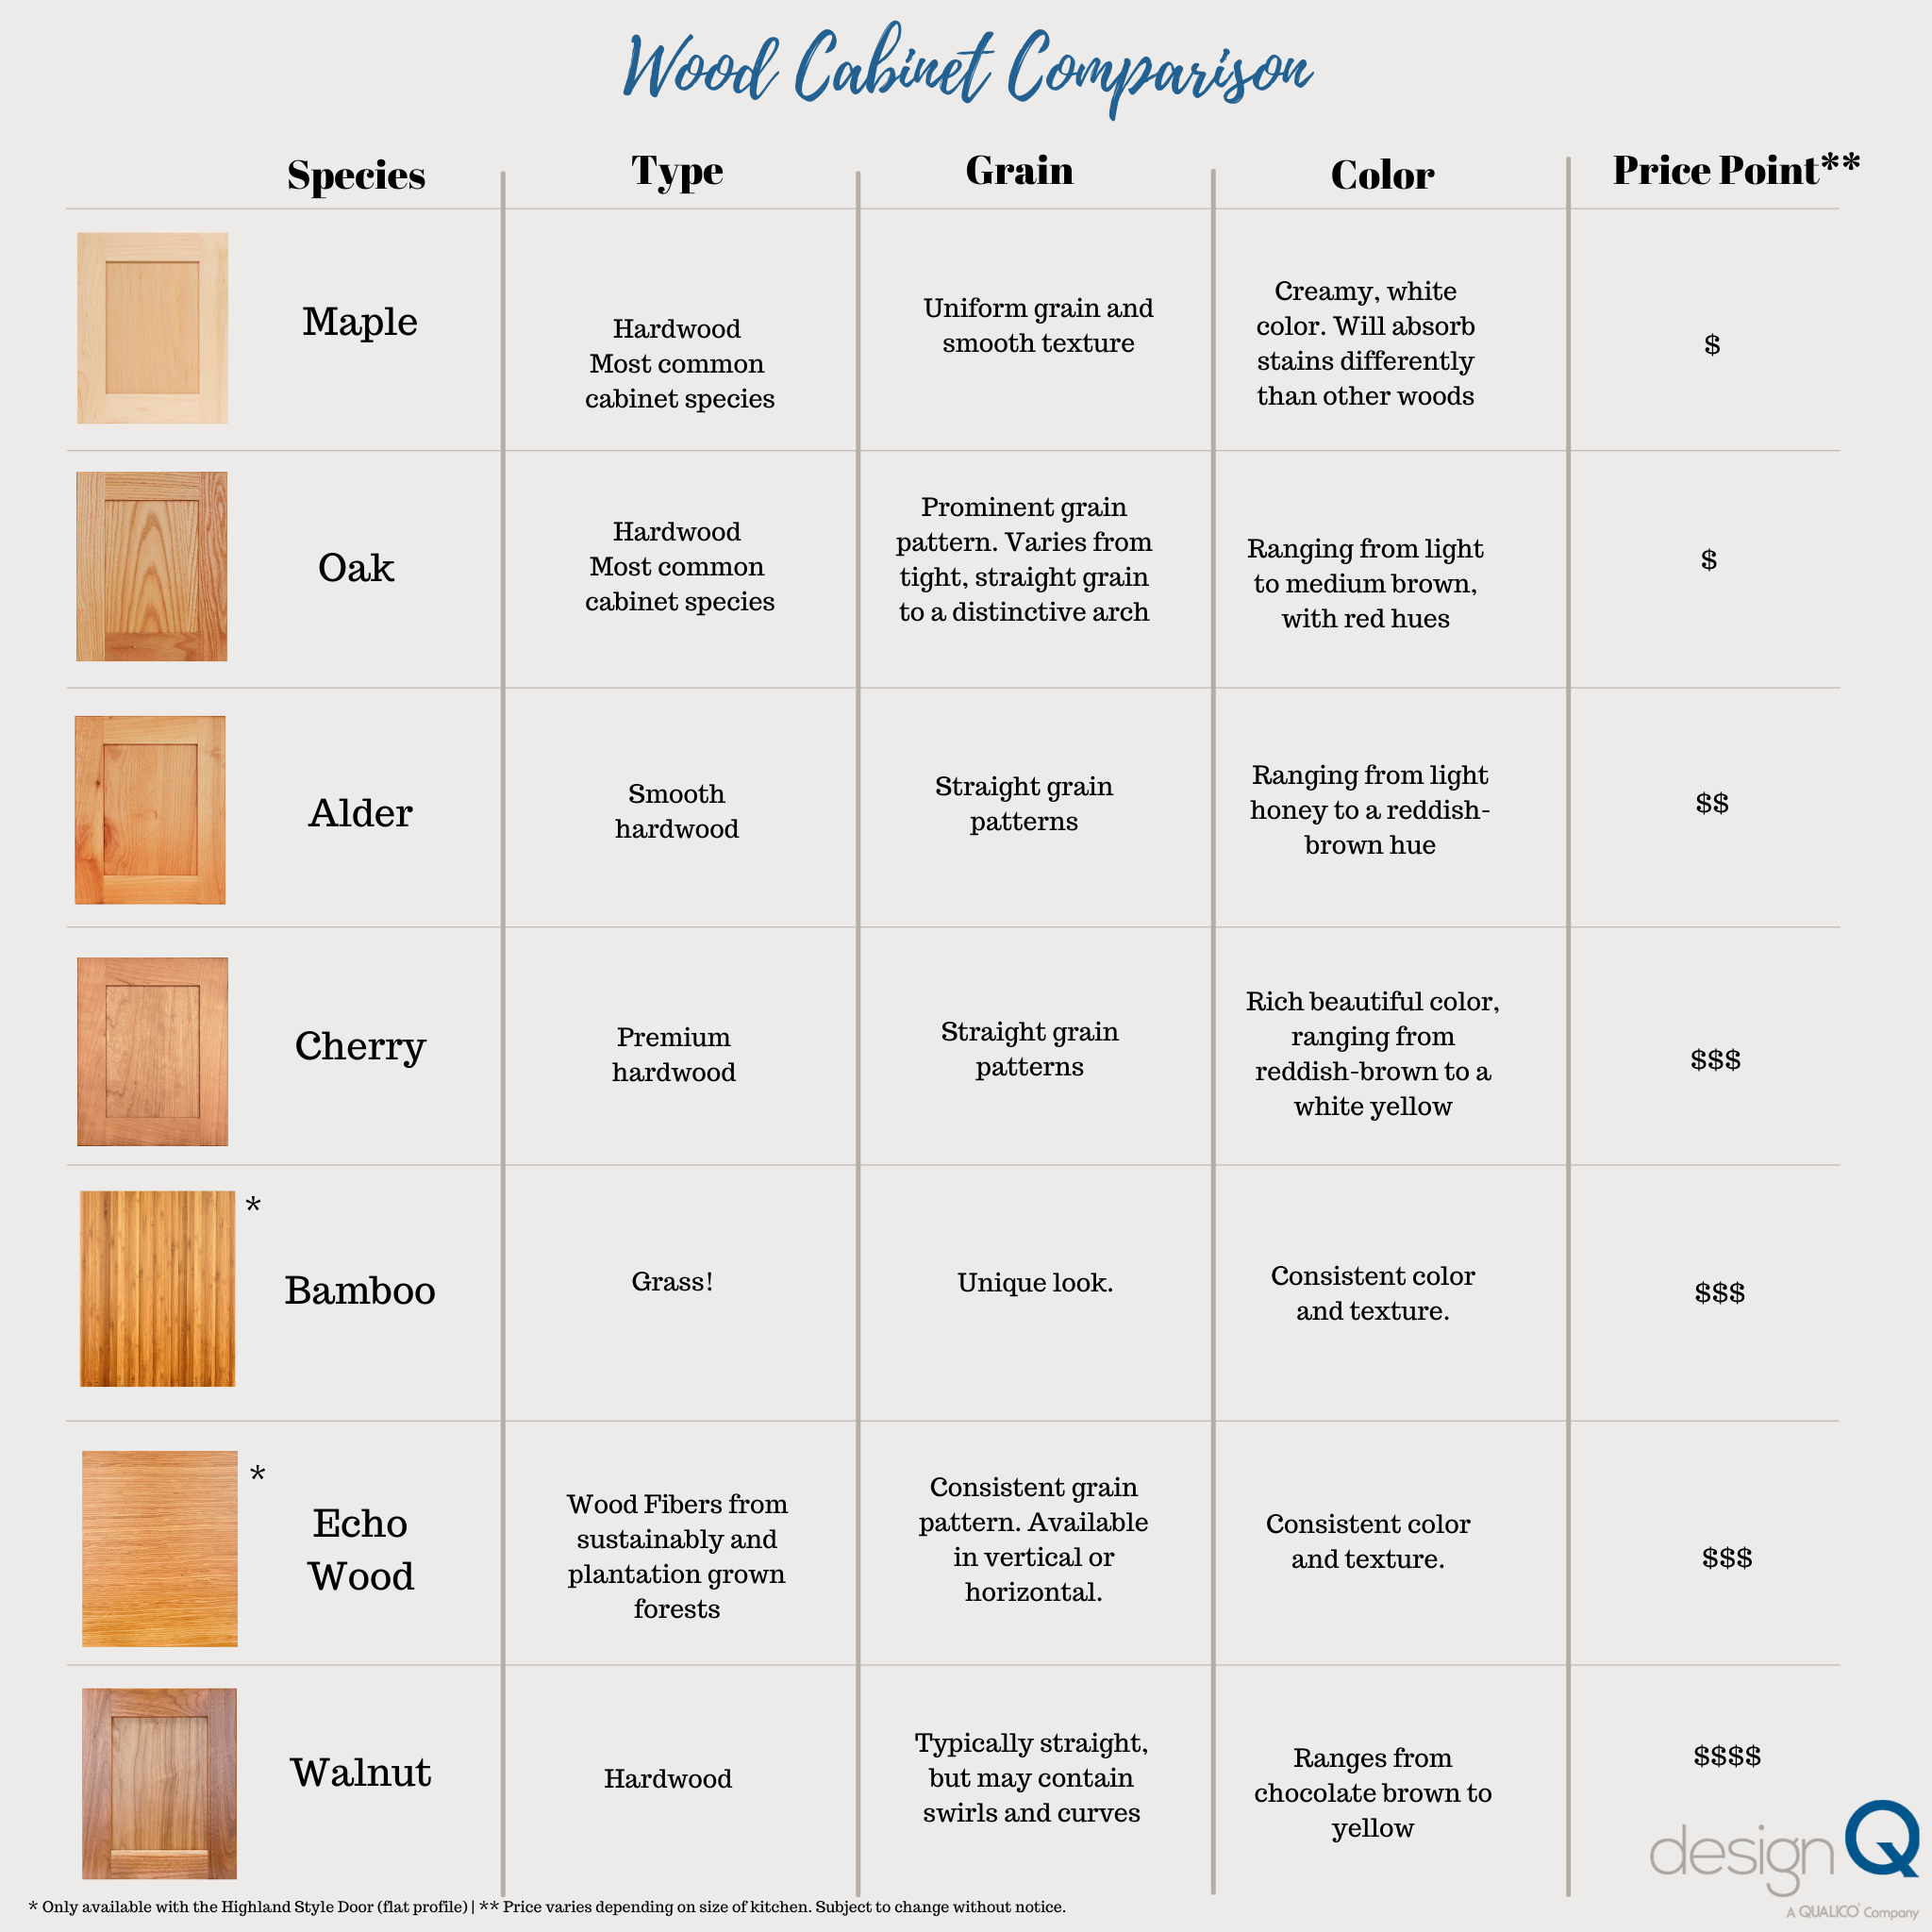
Wood Cabinet Species
There are a ton of different types of wood species in the world, but that doesn’t mean they all make for good cabinet material! Use the comparison chart below to see which wood species might be a good fit for your kitchen.
Upgrading your wood cabinet species has a lot to do with the desired look for your kitchen. The woodgrains and colors of each species define it, and so it all depends on the style you are going for! Maple will have a very soft, subtle look while Alder and Cherry will show more pronounced wood grains. As for Bamboo and Echo Wood – those are both made from sustainably grown forests.
Painted Cabinets
If you choose to go with a painted cabinet, you have options here too! Our painted cabinets are made with High Density Fiberboard (HDF) as it offers a smooth clean surface to really make the paint color pop. After the paint is applied it is finished with an industrial topcoat to seal it all in and prevent cracking.
Once you’ve picked your paint color you can then choose the type of top finish you would like on it, if any!
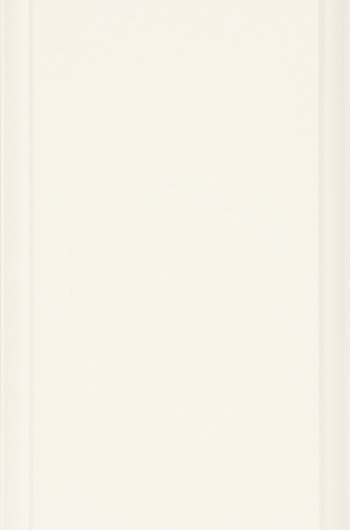
Opaque Finish
Opaque finish is a solid painted finish, showing no texture or grain. Available in 12 colors. Color: Mission White
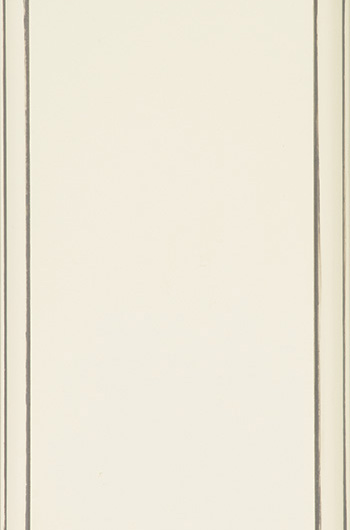
Glazed Finish
Glazed finish adds to an opaque painted cabinet, and is done to accentuate the detail on the cabinet. Available in 4 glaze colors. Color: Mission White with Pewter Glaze
Brush Stroke Finish
Brush stroke finish is a 7 layer process that is hand painted stroking in various shades to to give the color depth. Color: Silver Fox
Click here to check out all our cabinetry options that are available to client’s of designQ. As always, if you have any questions drop a comment below!
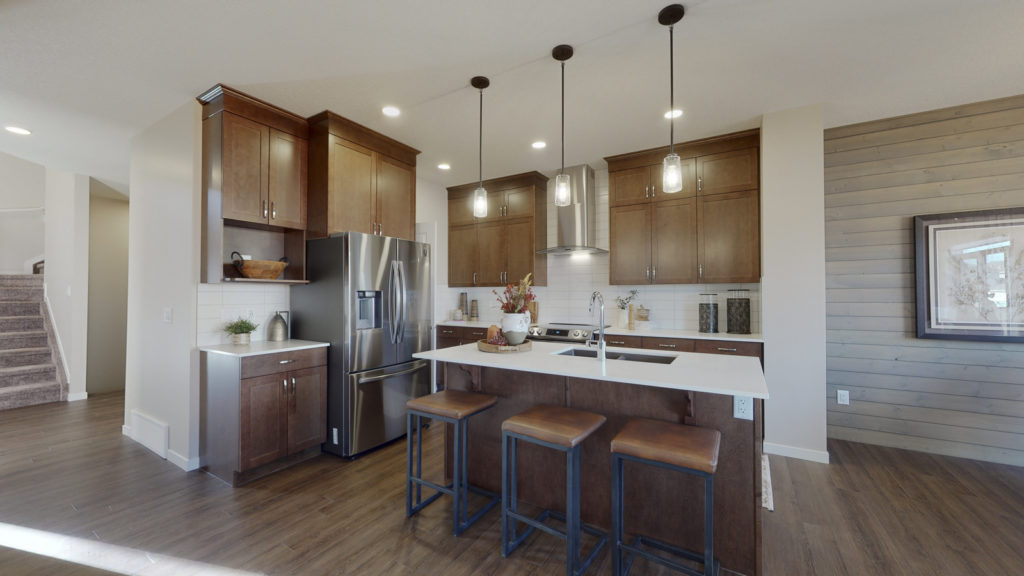
The kitchen is the heart of the home. So it can feel like a big task to design your dream kitchen. But it doesn’t have to be! At designQ, you not only get an interior designer to help walk you through the process, but you also get a dedicated cabinetry designer from Gem Cabinets. With a power team like that helping you out, you will be confident in your kitchen design.
Our designers have put together 5 steps to follow for a spectacular kitchen design. Read on to see how easy it is!
Step 1: Appliances
Always start any kitchen design or redesign with picking your appliances. Most appliances come in a standard size, and most kitchen layouts are set up to accommodate those sizes. However, if you are wanting to do some more custom items in your kitchen, then it’ best to get them picked out so you can make changes to your cabinet layout.
Some common custom appliance changes include:
Wider range or cooktop
Built in ovens or microwaves
Chimney or wood hoodfans
Larger fridges
So step 1 – head to the appliance store! You can get the dimensions of your chosen appliances, which you should bring with you to any kitchen design consultation.
Step 2: Cabinets
Now that you know the size of appliances that will be in your kitchen, you can move on to the fun stuff!
When it comes to selecting your kitchen cabinets there are many different options to consider. Our designers recommend starting with the material of cabinet you would like. Once you have that selected, then you can move onto color and door style. Below we have laid out the 4 most common materials our client’s select at designQ. Click here to learn more about each cabinetry material!
Thermofoil
Wood
Painted
Acrylic
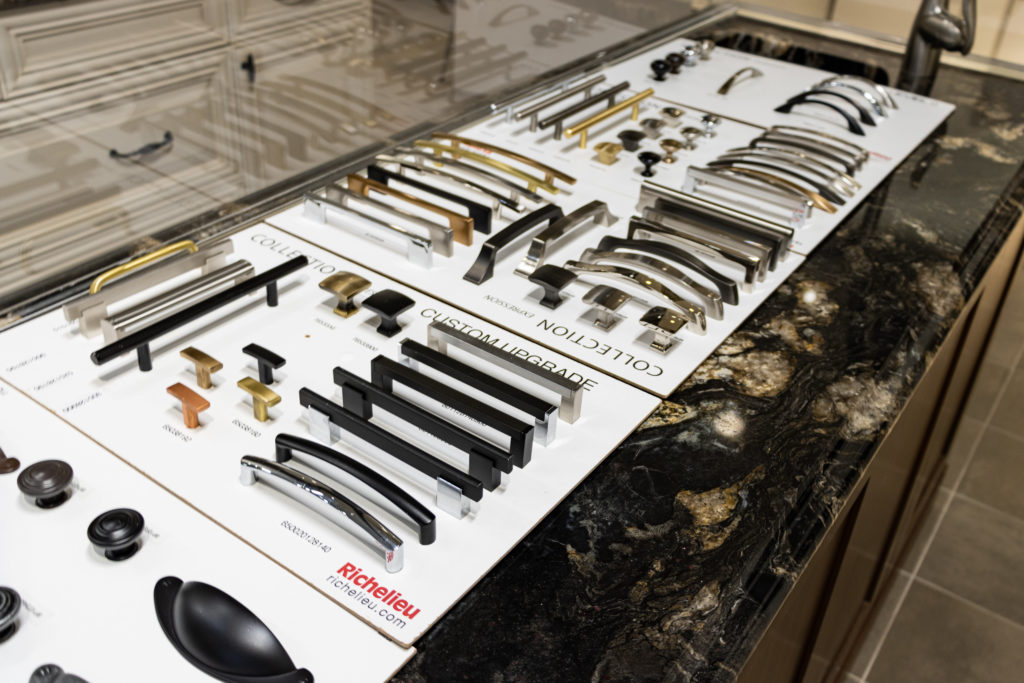
Step 3: Cabinet Hardware & Upgrades
Once you’ve determined the color and style of your cabinetry, you can easily select cabinet hardware that will coordinate with the overall look you are going for.
At designQ we offer numerous different types and finishes of hardware. Typically most clients will choose to go with a single style, such as a handle or a knob, but you can also decide to mix and match for a more custom and unique look.
Additionally, we also offer cup pulls, leather handles as well as touchless. The choice is yours!
Don’t forget about…
At this time, you may also want to consider any additional cabinetry options you would like to add. A few of the most popular options right now are items such as pot & pan drawers, pull out garbage cabinets and spice drawers (or even a full spice kitchen!). There are so many amazing ideas our cabinetry designers can help you with to make your kitchen really suite your families needs.
Step 4: Countertops
Selecting the right countertop is crucial to an effective kitchen design. You really want to balance style with the overall use of the space. If you love to cook, or have kids then you may want to consider something a little bit more durable and with more movement in the pattern to hide the occasional scruffs and scratches. If you really want your kitchen to shine, and don’t use it all that much then maybe you want to go with something brighter and more simple. See below the 3 main types of countertops at designQ.
Quartz
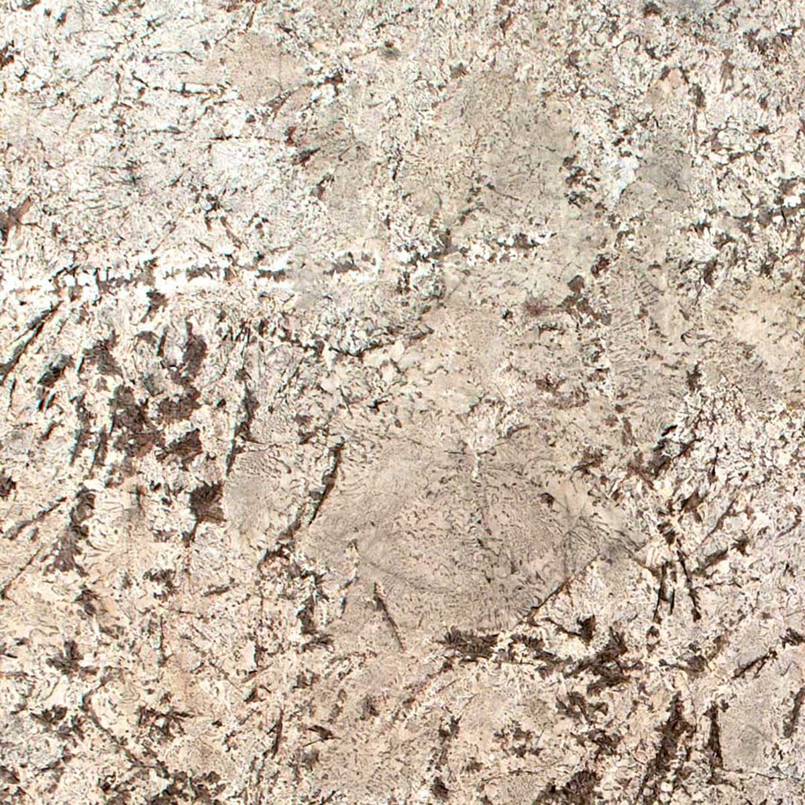
Granite
Butcher Block
Step 5: Kitchen Plumbing
One of the last things to add for your kitchen design is the plumbing. These can include items such as:
Kitchen Sinks
Kitchen Faucets
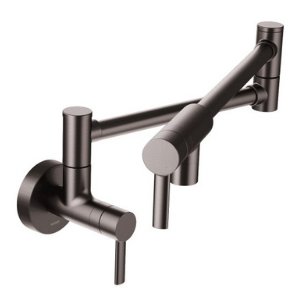
Pot Fillers
Soap Dispensers
Bar or Prep Faucet
Now that you have your kitchen style, colors and additions done, choosing your plumbing is easy peasy. There are of course numerous different options to pick from in all of the categories. Check out below to see the top 3 options our clients choose.
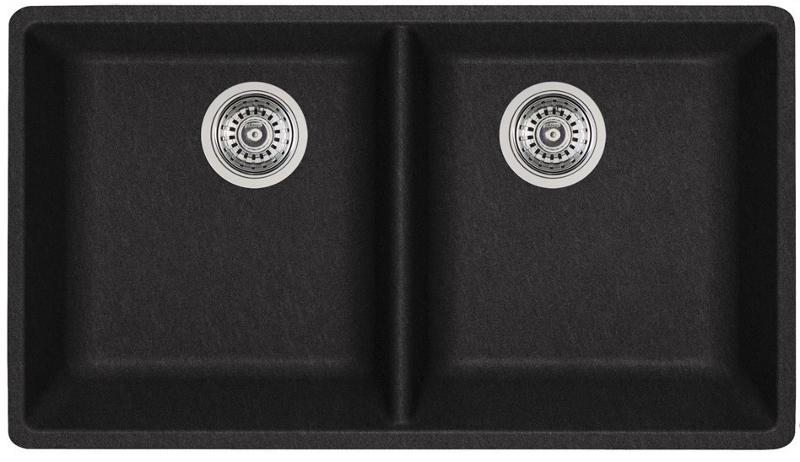
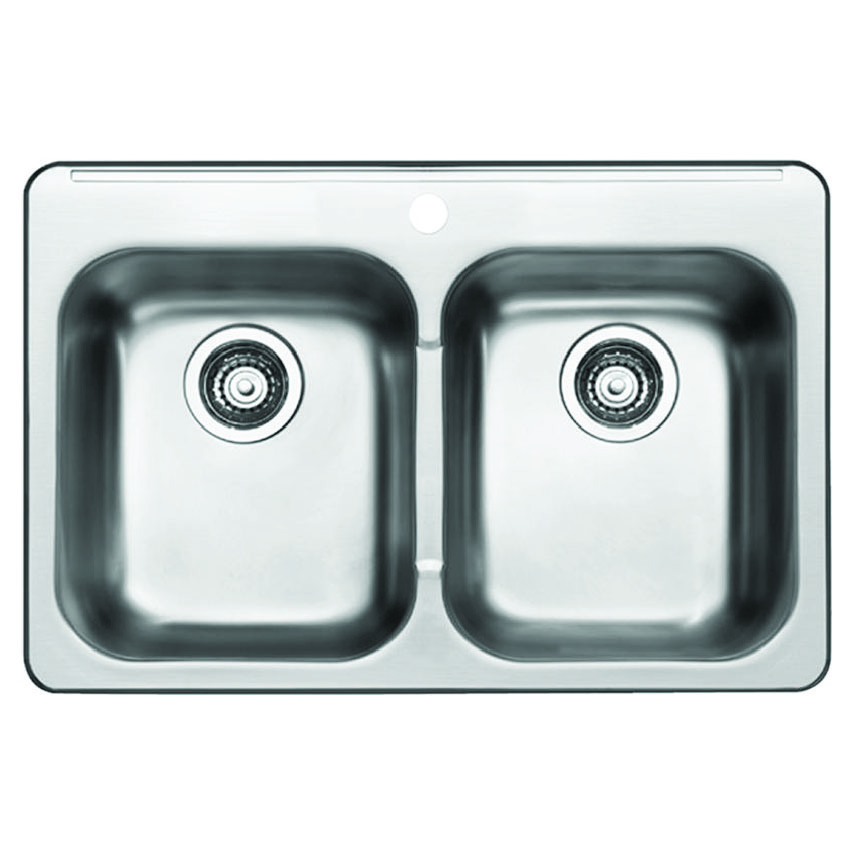
Kitchen Sinks
Stainless Steel Top Mount or Undermount
Silgranit Top Mount or Undermount
Ceramic Apron Front
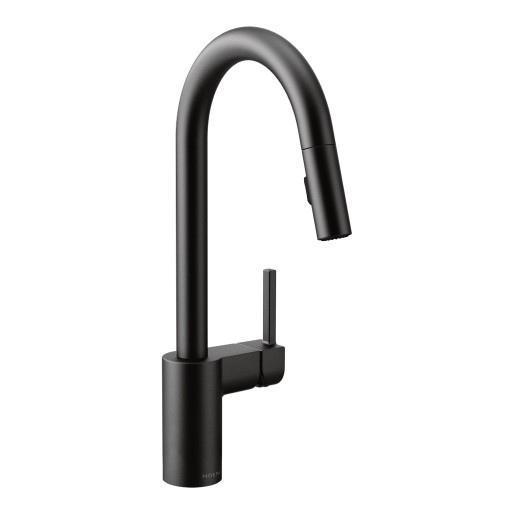
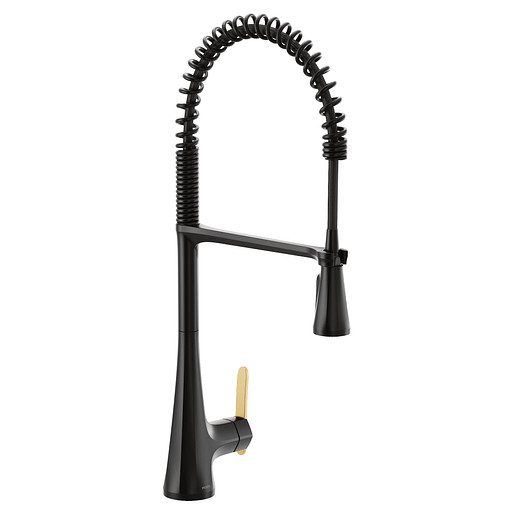
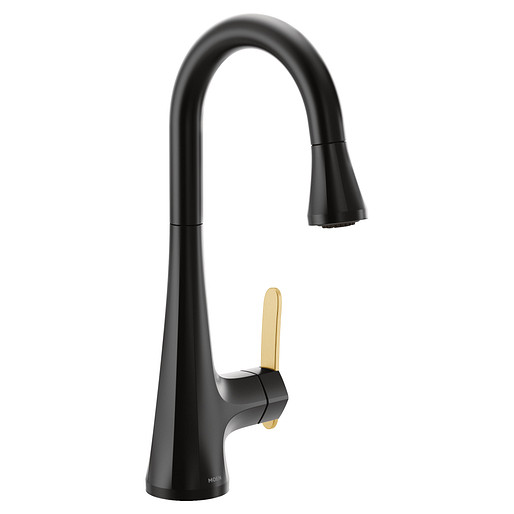
Kitchen Faucets
Main Faucets
Bar / Prep Faucets
Pot Fillers
We hope this guide has helped you understand the overall steps to designing your dream kitchen! Be sure to check out our website to view all of the options you can pick for your kitchen, as well as some really useful FAQ’s.