15

All About the designQ Allowance

If you are purchasing a home with Pacesetter Homes, Sterling Homes or StreetSide Developments, you may have the option to visit their design center, designQ. Did you know you can add an allowance to your contract to spend on interior selection products with us? Watch below as we explain everything you need to know about the designQ Allowance.

What is a designQ Allowance?

A designQ allowance is basically a gift certificate to designQ. It allows you to add money into your mortgage to spend on upgrades at either your interior selections or retail appointment. 

When does a designQ Allowance get added to the contract?

The designQ allowance will be added by the area sales manager when writing up your contract. This allows it to be included in your mortgage. 

Can a designQ Allowance get added after the contract is signed?

We recommend you add the allowance to the initial contract with your area sales manager.

How do you determine how much of an allowance will be needed?

Start by browsing our website to get an idea of what products you are interested in. Then, while writing the contract with your area sales manager they will work with you to estimate a price that will cover the cost.

Why is it an allowance, and not an exact price?

As every home is unique there are many different variables to take into consideration such as layout changes, different specifications and different products. At your interior selections appointment we will provide you with exact pricing. 

What types of products can be included in a designQ Allowance?

Anything that is attached to your home, like flooring, cabinets, paint, window coverings and floor coverings. Basically if you took your house, flipped it upside down and shook it anything that didn’t fall out we can add. 

Can a designQ Allowance be added to a completed home?

Yes! Although the products you can include will be limited to items such as blinds, drapery and wall features. 

How does the designQ Allowance get used at the appointment?

Although you do create a wishlist with you area sales manager, it is not final. Our designers will use that as a reference during your interior selections appointment, however you can spend the allowance on whichever upgrades you would like. 

What are some key products to account for in a designQ allowance?

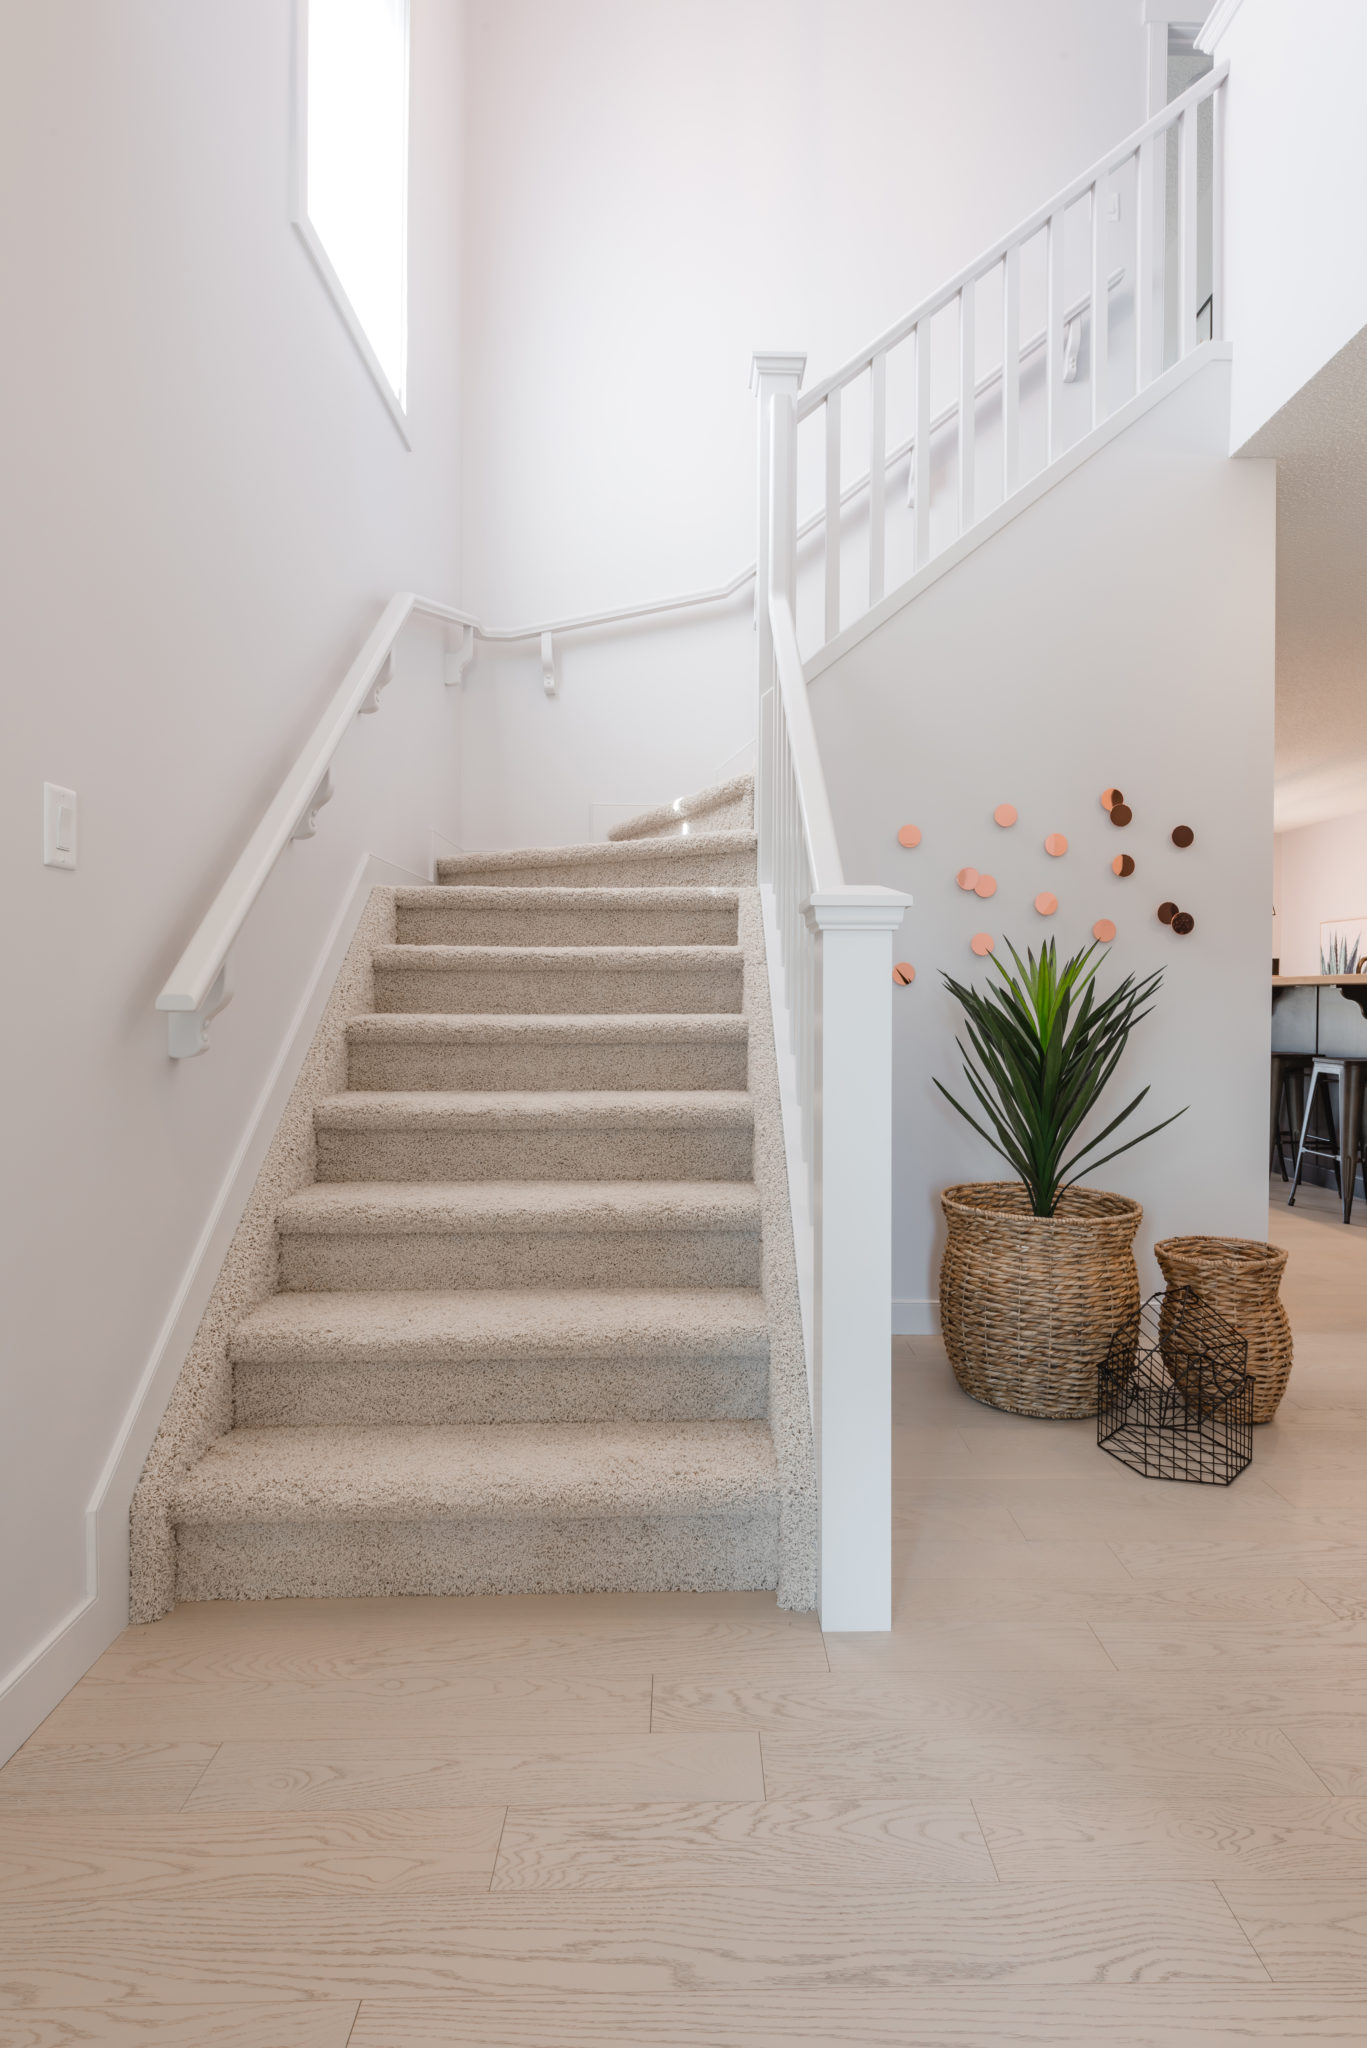
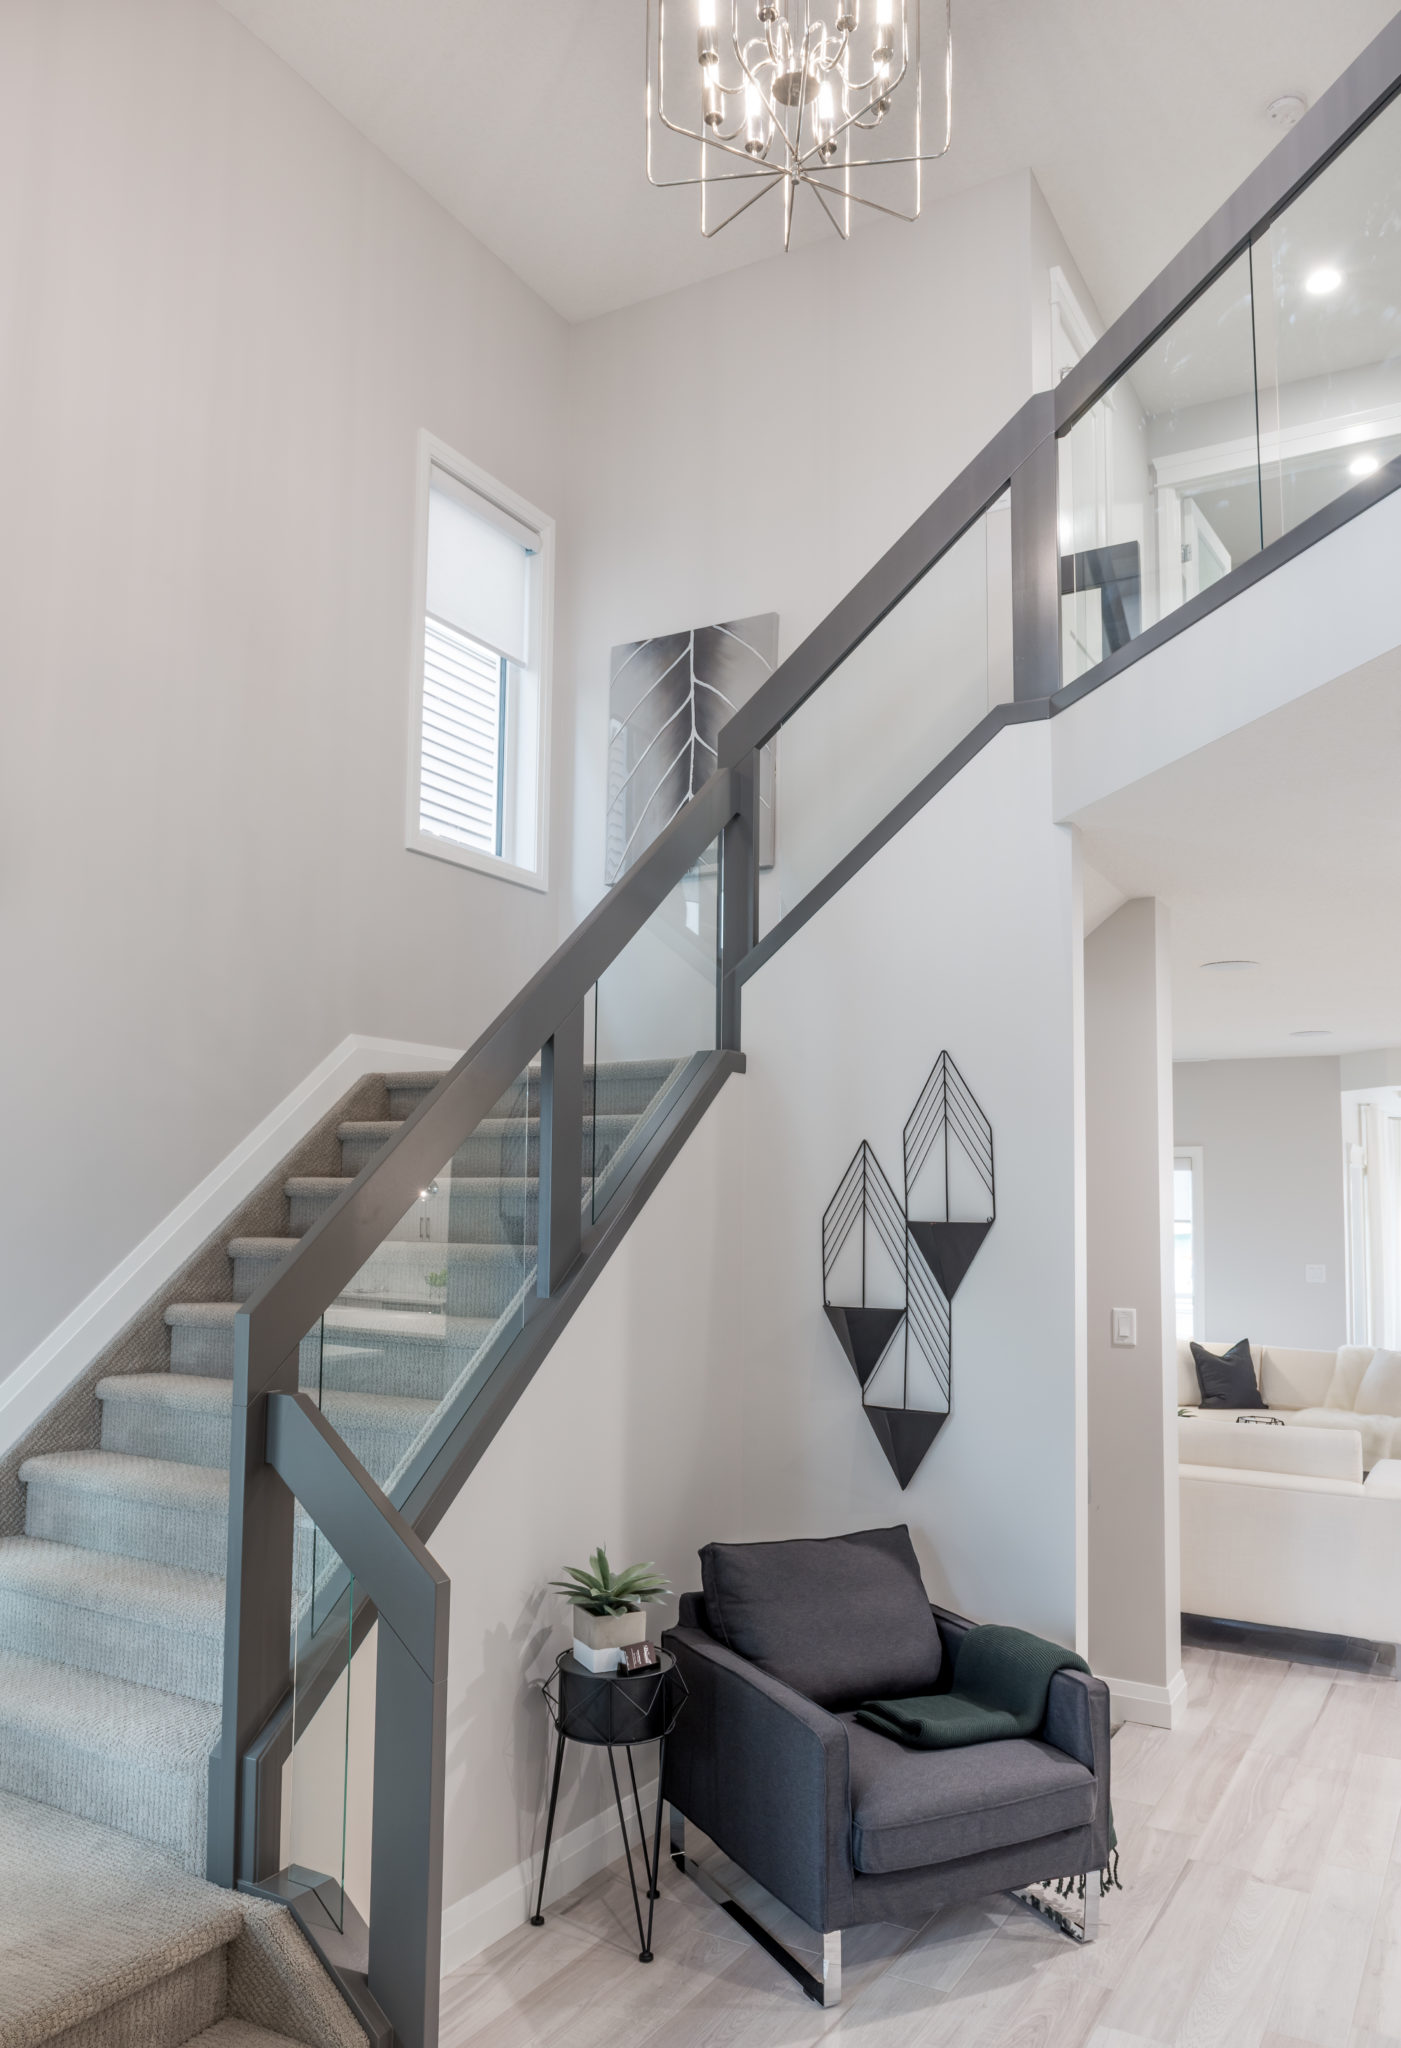
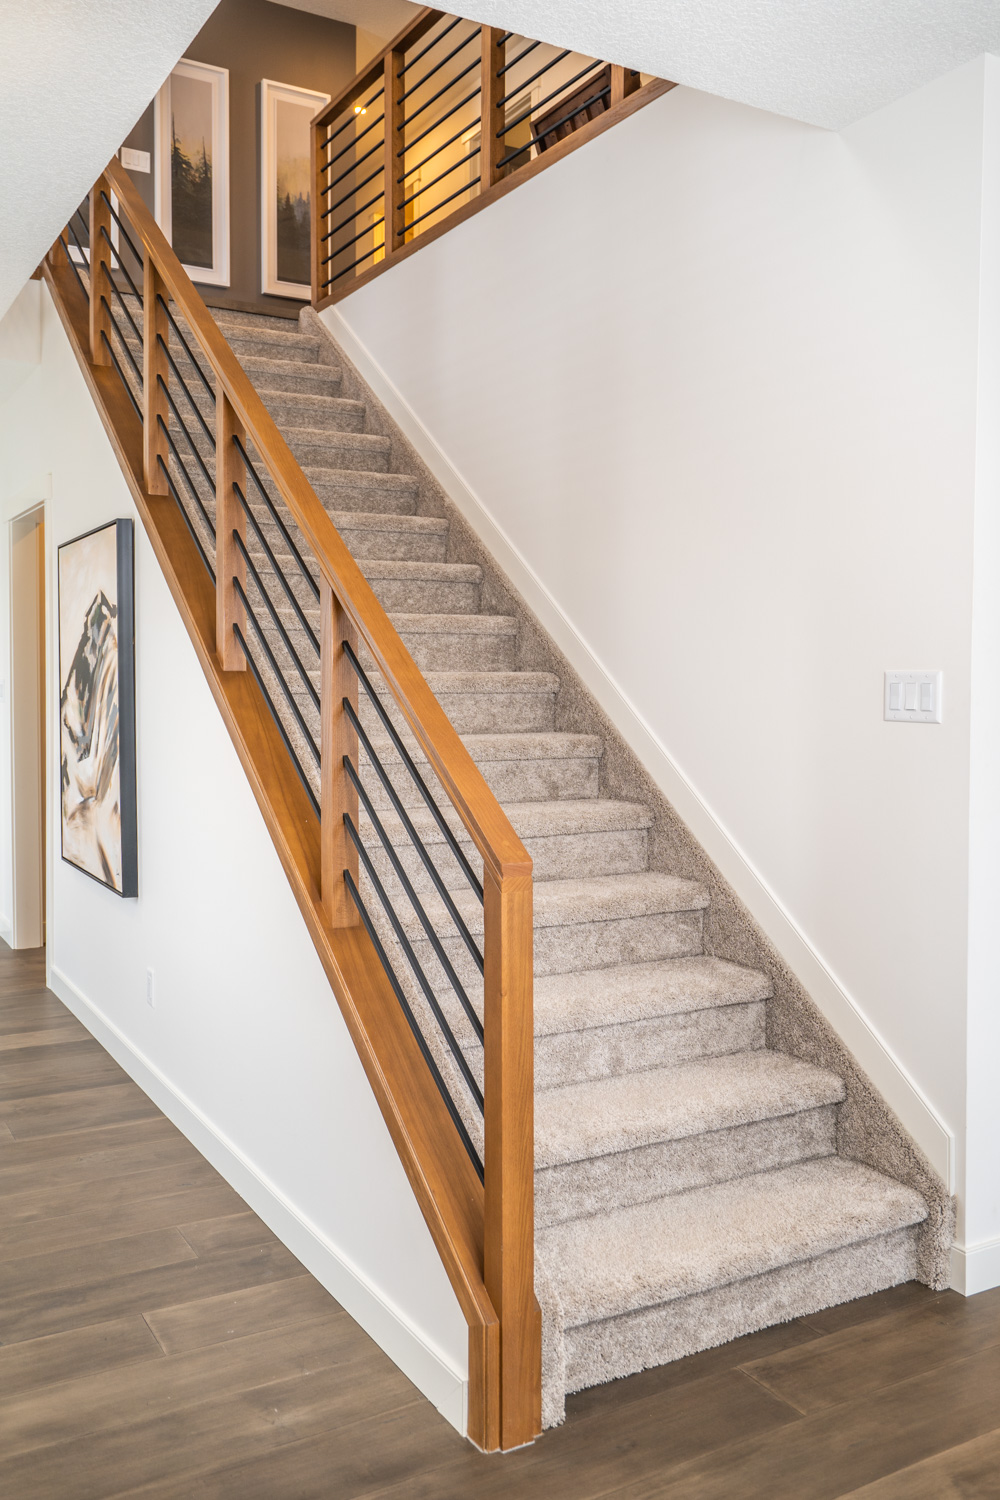
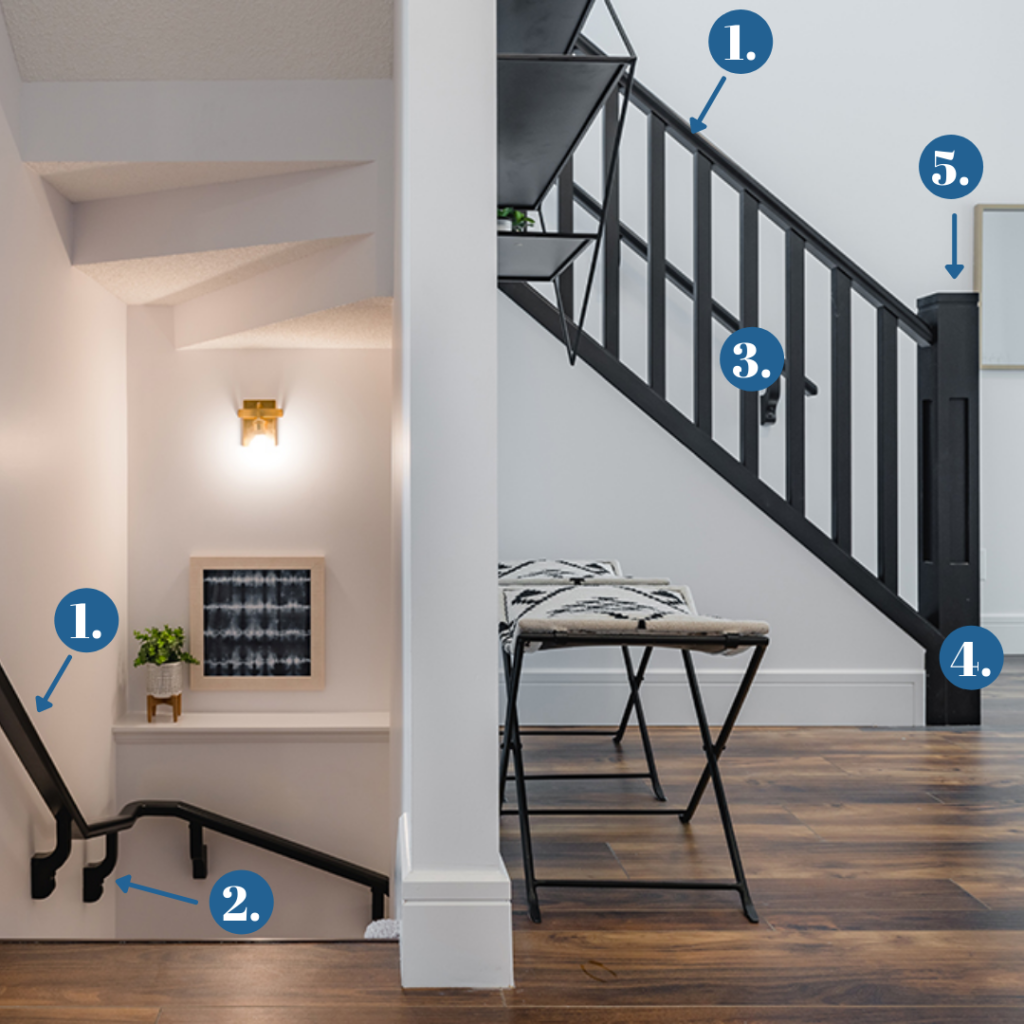
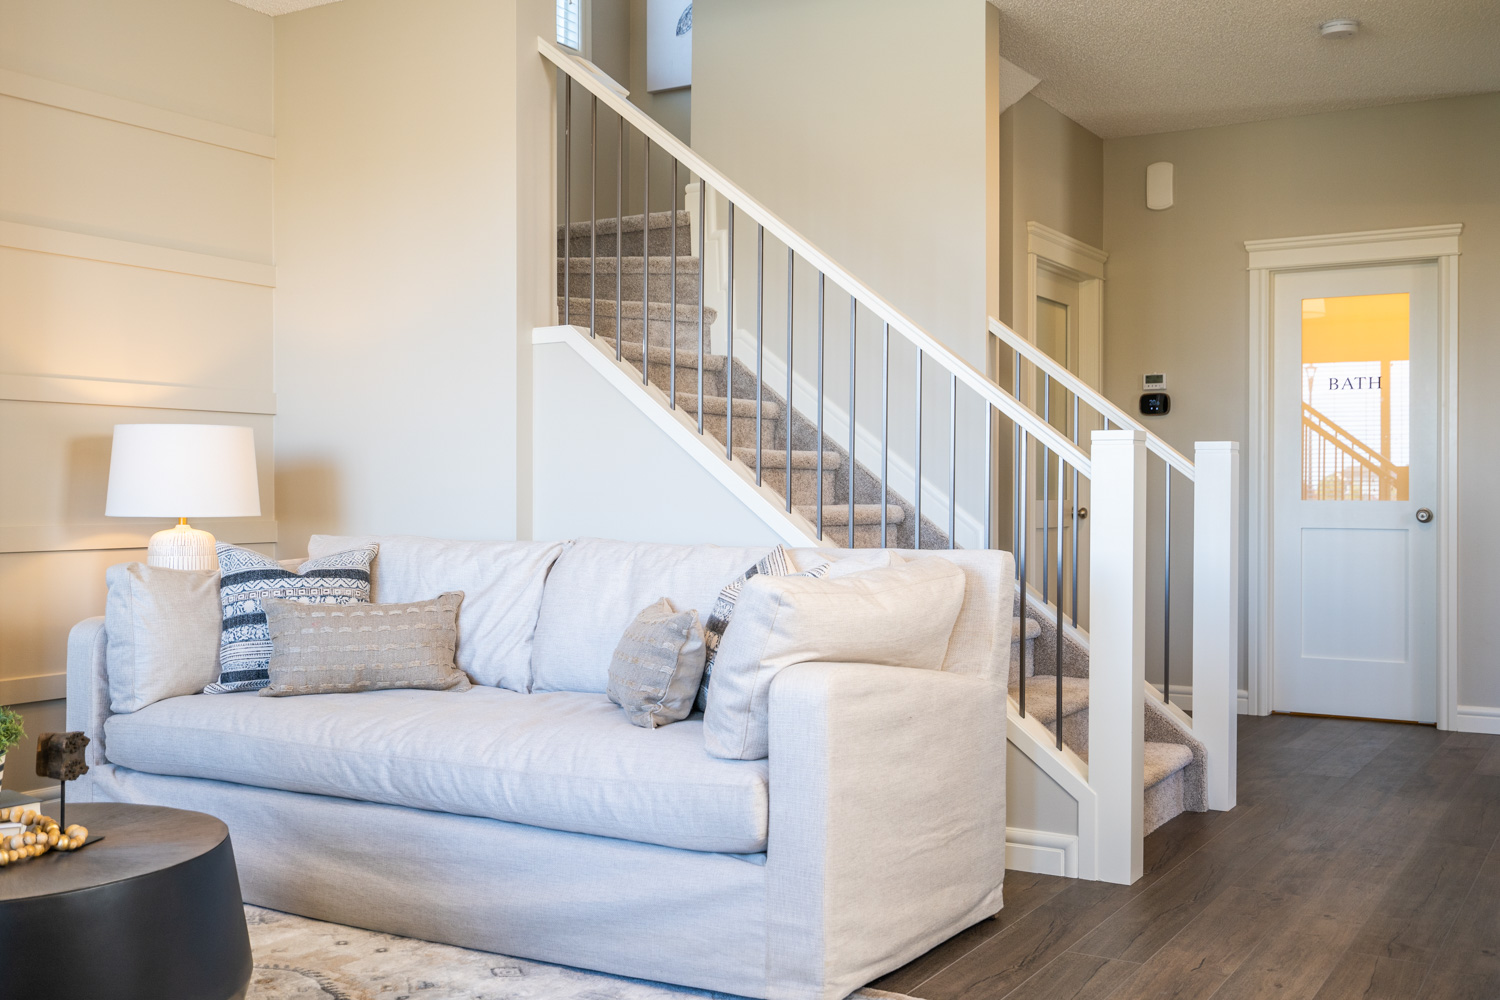
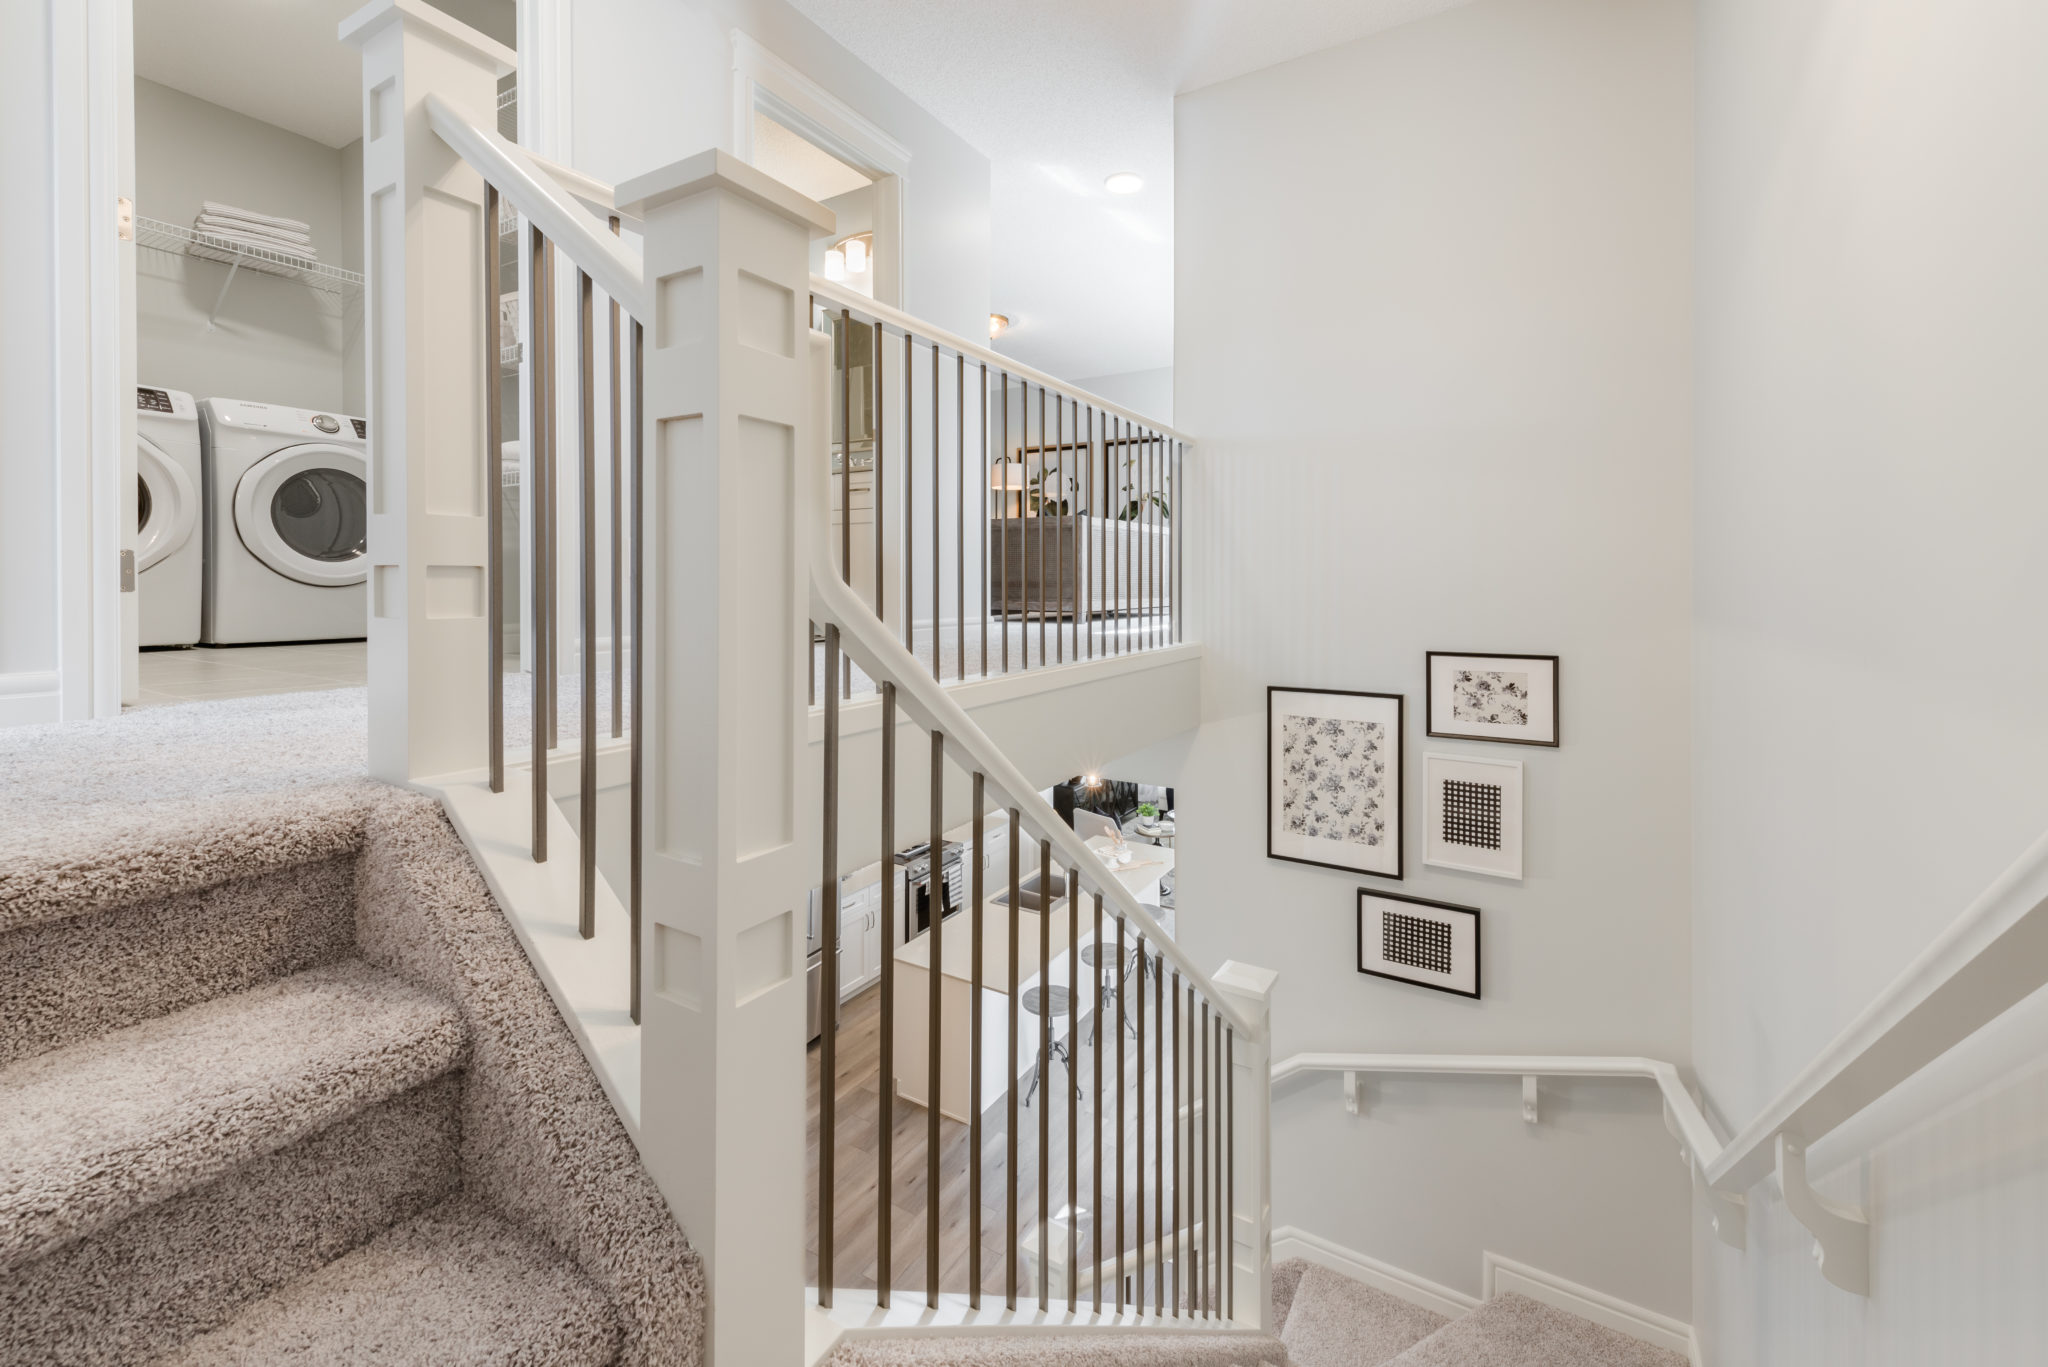
It’s a good idea to have a designQ allowance if you are interested in higher value items such as cabinet upgrades, cabinet layout changes, interior railing or tile

How will you know if you used the full allowance amount?

At the beginning of your interior selections appointment we will start with a credit of your allowance, and we will add upgrades towards it. Throughout the day your interior designer will keep you updated of where you are at and when you are approaching your total.

What happens if not all of the allowance is used?

No problem. Any unused portion of your allowance will simply be applied to your closing statement as a credit. This can help to offset any other charges that have come up during your building, unless it’s within 45 days of your possession. 

Why 45 Days?

45 days prior to your possession, the builder finalizes your closing statement to send to the lawyer. This typically cannot be changed. 

What happens if more than the allowance is spent?

Once again, not a problem. Any additional charges at designQ will simply be added to your closing statement to be paid at the lawyers. 

Can any overages be added to a mortgage?

Yes this is a possibility, however here at designQ we are not privy to your mortgage details so we recommend you speak with your mortgage specialist first.

Can products be purchased directly through designQ?

No, unless you are purchasing products through our designQ Shop such as blinds, drapery, wall features or furniture

All information listed in this post and video are deemed to be accurate at the time of filming. The information provided is a general overview of how a designQ allowance is used and may be differ in unique situations.  If you have any questions or concerns, please speak to your area sales manager with your builder. 

6

Interior Railing Guide: The Selections

When you have your interior selections appointment with designQ, you have the option to select interior railing for your home. Watch below as Chelsi show you the available selections, and walks you through the process of selecting interior railing.

Step 1: The Style

The first step in choosing your railing is to determine which style of interior stair railing you want in your new home. At designQ, we have 3 main styles to choose from:

interior stair railing

Spindle Railing

interior stair railing

Glass Railing

interior stair railing

Horizontal Railing

Spindle Railing:

This is the most common type of railing. You can choose from either a wood spindle or a metal spindle. 

The wood spindles come in 2 different styles – blank or textured. Click here to view the options.

The metal spindles come in 10+ patterns & styles, as well as multiple color options. Click here to view the options.

Glass Railing:

Glass railing has a very unique style. It is visually stunning and can really transform a home to make it seem more open & bright. Glass railing has only 3 post & cap options, however it can still be painted or stained to match the rest of your interior. Click here to view the options.

Horizontal Railing:

This railing style is a new addition to designQ, and to the design community in Alberta! Horizontal railing is very on trend, and offers a modern or industrial look to your home. 

There is only 1 post & cap option with this style of railing, and 2 bar options – round or flat. However you are still able to choose the color of bar as well as the paint or stain of the railing. 

Click here to view the options.

Step 2: The Post,  Cap & Handrail

Once you have decided on the style of railing you want in your new home, you then have to select the post, cap & handrail type. 

The options for these components will change depending on the style of interior stair railing you have chosen. 

Click here to view the options for spindle railing. Glass & Horizontal railing are limited to more modern styles due to the construction of the railing. 

Want to learn more about the components of interior railing? Click here to view our vlog!

Step 3: The Color

The final step in selecting your interior railing is the color! The components that would be painted or stained are:

  • The Handrail
  • The Post
  • The Cap
  • The Shoe (bottom part between the stairwell carpet & the spindles)
  • Wood spindles if selected

If you are choosing to paint your railing, you can select from any color in the Dulux paint fan, however keep in mind some colors will be an extra charge. 

If you are choosing to stain your railing, you can choose any stain color that would normally match your cabinets or hardwood (if applicable). When you select a stain, you are also able to pick the species of wood you would like your railing to be from either Maple or Oak.

Click here to view a few of our favorite color choices. 

interior railing

Interior Railing Guide: The Components

Selecting the interior railing for your home can sometimes be a bit overwhelming! There are many components, and each of them with their own style. Watch as we break down the 4 main components to interior railing, and show you the 2 main areas of your home where you may put railing.

5 Main Components

Below are the 5 main components to any interior railing selection. For more information on the options available, click here to head to our railing page. 

Handrails are what you grab when you walk down the railing. They finish off the top of the spindle pattern and are also mounted to the wall where spindles are not able to be installed. 

Wall Brackets support the handrail where spindles can not be installed

Spindles are the focal design feature of your railing. Whether you chose wood or metal spindles there are a ton of finishes, patterns and styles available so you can find something unique to fit your home!

If you want a more modern look you can always choose to have glass panels or even horizontal railing in place of where the spindles would go!

The post is the main support for the installation of the railing. You will see them at any turning point or end of the railing. There are many designs from traditional to contemporary available

The Cap is mounted on top of the post to finish off the look and complete your railing.

Interior Railing Locations

When it comes to putting interior railing in your home, there are 2 main areas you would want to showcase your railing – either just the main floor or you can take it all the way up to the 2nd floor. Another location you may want to consider is going downstairs to the basement! 

interior railing
Showhome: Pacesetter Homes Madeline in Cy Becker

Main Floor

Depending on your staircase configuration, typically adding railing to the main floor only would encompass the first set of stairs going from the main floor to the landing between the 1st and 2nd floor. 

In some cases, there may be a small portion on the other side of the stairwell that will get railing as well. 

interior railing
Showhome: Pacesetter Homes Aspen in Keswick

Main & 2nd Floor

If you want to add railing all the way to the 2nd level, this would encompass railing on the entire stairwell going to the 2nd floor. 

Depending on the layout of your home, and the stairwell configuration, this may also include railing in parts of the hallway or bonus room. Typically, if there is a part of the 2nd floor that is open to below, there will be the opportunity to put railing there. 

interior railing
Showhome: Pacesetter Homes Austin in Riverview

Basement

If your floor plan has an open stairwell leading to the basement, then you may want to consider adding railing all the way down. 

This will complete the look and make your interior railing flow seamlessly. 

When you come to your interior design appointment with designQ, you will have the option to select railing for your home. Click here to watch a video where we show you exactly which options you can choose from, and how the process works! 

silgranit-sink-scratch-or-stain

Will Your Silgranit Sink Stain or Scratch?

Silgranit sinks are extremely popular right now. They are super durable, they look great and they come in a variety of styles. 

But a question we get asked a lot from our clients is “It looks great, but does it scratch easily?” or, “The lighter color is beautiful but I’m sure it will stain, right?”.

So we decided to put it to the test! Watch the video below as a 3 day old stain comes right out, and scratches disappear like they were never there! 

Want to learn more about Silgranit? Check out our blog where we talk about the best kitchen sink materials, and the differences between Silgranit and Stainless Steel.